Showing posts with label Layering. Show all posts

Monday, June 9, 2014

Vacation Bible School

Next week is Vacation Bible School at my church and we were asked to bring prizes for the children to ‘Go Fish’.   Remember the song, “I will make you fishers of men if you follow me”?  When they bring a new guest to join them Tuesday through Friday they ‘Go Fish’ and select a prize from the Treasure Chest.  First I went out and purchased a few activity books and pencils and a couple of games.  I wasn’t satisfied until I went in my room, looked around and there was my inspiration….6x6 Hanging signs!!!  They can place them on their door or in their room.  Five were made for my Design Team post.  I will be posting five each day this week on my blog!  They each have a scripture and part of a hymn we use on Sunday.   Our theme is 'The Amazing Road Trip.'


Are you and/or your children attending VBS or a summer program?  This would be an excellent idea.  Everything came from my scraps of paper and embellishments that I’ve set aside and refuse to throw away.   I wish I could have given them the supplies and see how creative they could be to design their own Hanging sign.  Hope I’ve inspired you to create a few and if you have created them before….Do it again!  Oh the possibilities.  I can't wait to paint!! 

Friday, April 18, 2014

Easter Themed Card Box (A tutorial)!

Hello there!

I hope this Good Friday finds you in good spirit and with many crafty things on your to-do list this weekend!

For your viewing pleasure today, I've created what I hope is an in-depth tutorial as to how I made the box below.


I  made this box with the idea that I would also make coordinating cards to go inside of it (below).


I wanted to make a box that would have the following specs:
- only uses 1, 12x12 sheet of cardstock
- has a closure of some kind (in my case, a magnet closure)

The final dimensions of this box are: 8" x 3.5" x 1".

In doing so, I drew out a mini sketch to get the ball rolling:


And then I started getting crafty!

Tools you'll need include:
- a score tool of some kind
- scissors
- glue
- pretty papers and embellishments to decorate the box with!


Set your paper up on/with whichever scoring tool you're using.
I'm using my MS score board.


Score the paper initially at 1", 2", 5.5", 6.5", 10" and 11".
A total of 6 score lines!

Rotate the paper counter clockwise by 90 degrees and score at 1" and 2".

Rotate the paper AGAIN, but this time by 180 degrees and score again at 1" and 2".

You now have 4 scored lines perpendicular to the first set of score lines.

You end up with the same setup as what I have pictured above.
Once all lines are scored, using the guide above, cut out all the squares within the score lines marked with an "X".

You end up with this cool shape.

Fold all of the score lines.

Now that we see where all the lines will fold, cut out the section of the folded area shown above.

You're left with a tab like piece.

And again for the other side...


You can now start adding the glue! We first add glue to the tab we just finished making.

Then we bring the adjoining side up to meet the glued tab. 

Then we add glue to the top flap and glue it to the adjoining flap on top. 

Do the same for the other side/other tab.

Box is starting to come together!!! Whee!!

I used magnet closures on my box. You could of course use ribbon, seam binding, etc.

I marked the center of the flap where my magnet would go.


Then I added the other side of the magnet to the outer edge of the box where the flap would overlap.

This is the reason I added that extra 1" to the side with the closure.
If you will not be using a magnet, this could also be the side in which you hide any ends to seam binding or ribbon.
All you would need to do instead is pierce a tiny hole for it to come through. :)

I used my Deco corner chomper to do the edges of the box flaps.

Then I used my coredinations sanding block to rough up all the corners.

I then used some Sweet Sentiments paper from the 12x12 paper pack from Graphic 45 as the base paper for my box.

I also layered another sheet, this time from the 8x8 pad. Also from Sweet Sentiments.

Then I used some recollections bling stickers for my Easter greeting.
I also used a pencil to roll down the top left edge of the second layer of paper.
(It's easier to roll the paper if you mist it with water first!)

Then I threw on some random flowers and bling from my stash, and voila!
(Front View)

(Back View)


Phew!

I hope that wasn't an overload of a tutorial. :)

Oh! And I forgot to mention, I distressed ALL the edges of ALL the papers I used, except the paper I used for the base of the box.

Thanks so much for dropping by!
If you have any questions, please post them in the comment section and I'll hopefully be able to answer them!

Also! Please post a link to your blog or image gallery should you choose to make this box as well! I love looking at your pretty altered boxes!! :D

Super warm hugs!

Krafty Kerry signing off!
http://kerryscoolcreations.blogspot.com

Sunday, March 2, 2014

Layering 101

Hello Crafty Dahlins!
Emonie here with my very first blog post, Layering 101.  I love lots of layers and embellishments ....do you?  Well if you do this post is definitely for you.  I know many of us have tons of paper and embellishments that we would love to adorn our layouts with but can't quite seem to get it to work. The SOC blog is here to help!! I have a few recipes that will make it easier to add layers and dimension to your layouts.


When choosing your patterned papers it is easier to start with a collection as the color coordination is done for you.  Here I have chosen the Maggie Holmes Collection.  I used 4 coordinating pieces of patterned paper to make my layers.

Recipe for choosing papers :
1.  A base cardstock with multiple colors. You will use those colors in your layers and embellishments
2.  Words/Script Patterned paper
3.  Geometric Pattern paper
4.  Floral Patterned paper

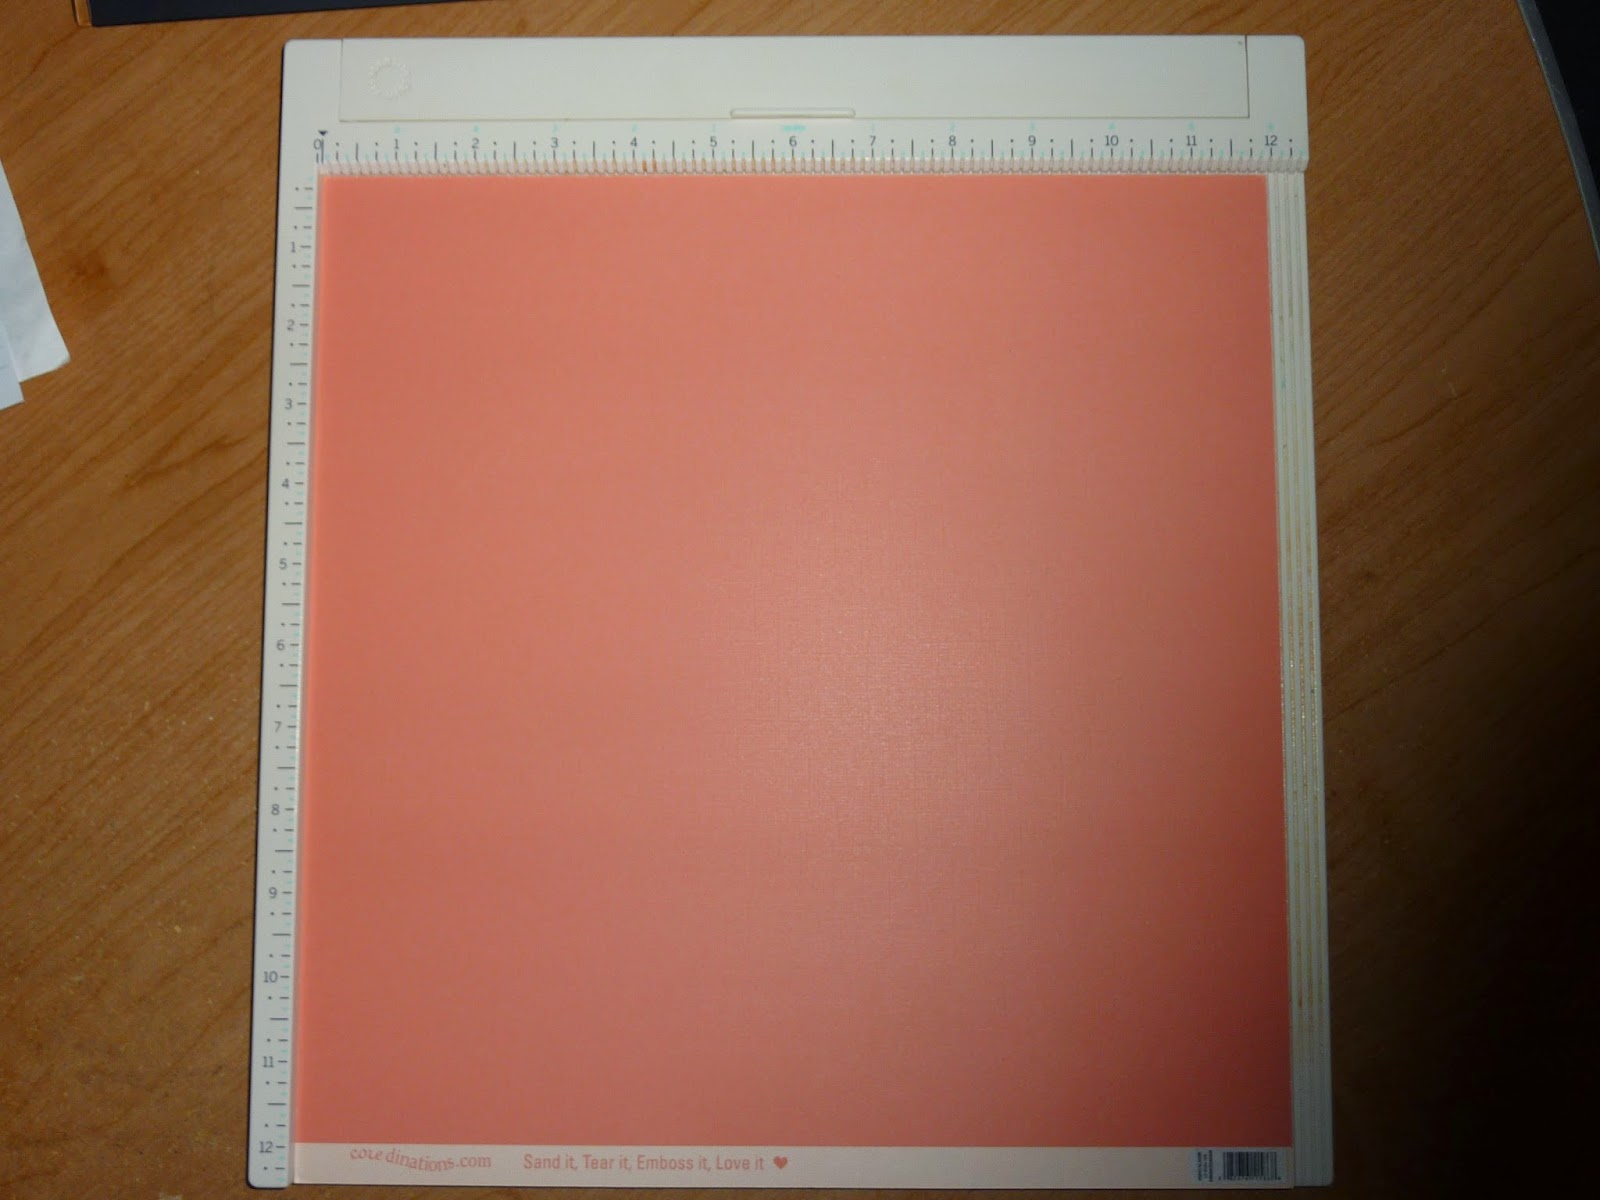
I chose the bokeh print as my base cardstock.  I just love bokeh! Now... lets resize your canvas.  A 12 x 12 can be very overwhelming at the beginning so make your canvas smaller. You can use the conventional sizes 8x8, 6x6 or a custom size.
     When layering be mindful of your adhesive.  I use Tombow Mono Temporary Adhesive.  This adhesive has barely any stickiness but it lets you place your layers down to get an idea of placement. When you feel comfortable with your layers use your phone/camera and snap a quick picture so you can adhere permanently.   My primary adhesive is This to That from American crafts.  This adhesive  has great stickiness but you can still remove and replace.

Warning:  I design my layouts with out a photo ....said no scrapper ever.  Yup! I am a backwards scrapper. When my layering is complete ....then I add photos.  If this seem absolutely crazy to you
( which I am sure it does) make a template the size of your photo for placement.

Recipe: Try and work in three's.  Notice the color coordinated arrows the paper patterns are repeated 2-3 times and form a triangle.  This gives uniformity to your layering and cohesiveness.  I applied Vintage Photo Distress Ink to all my edges and began to adhere.


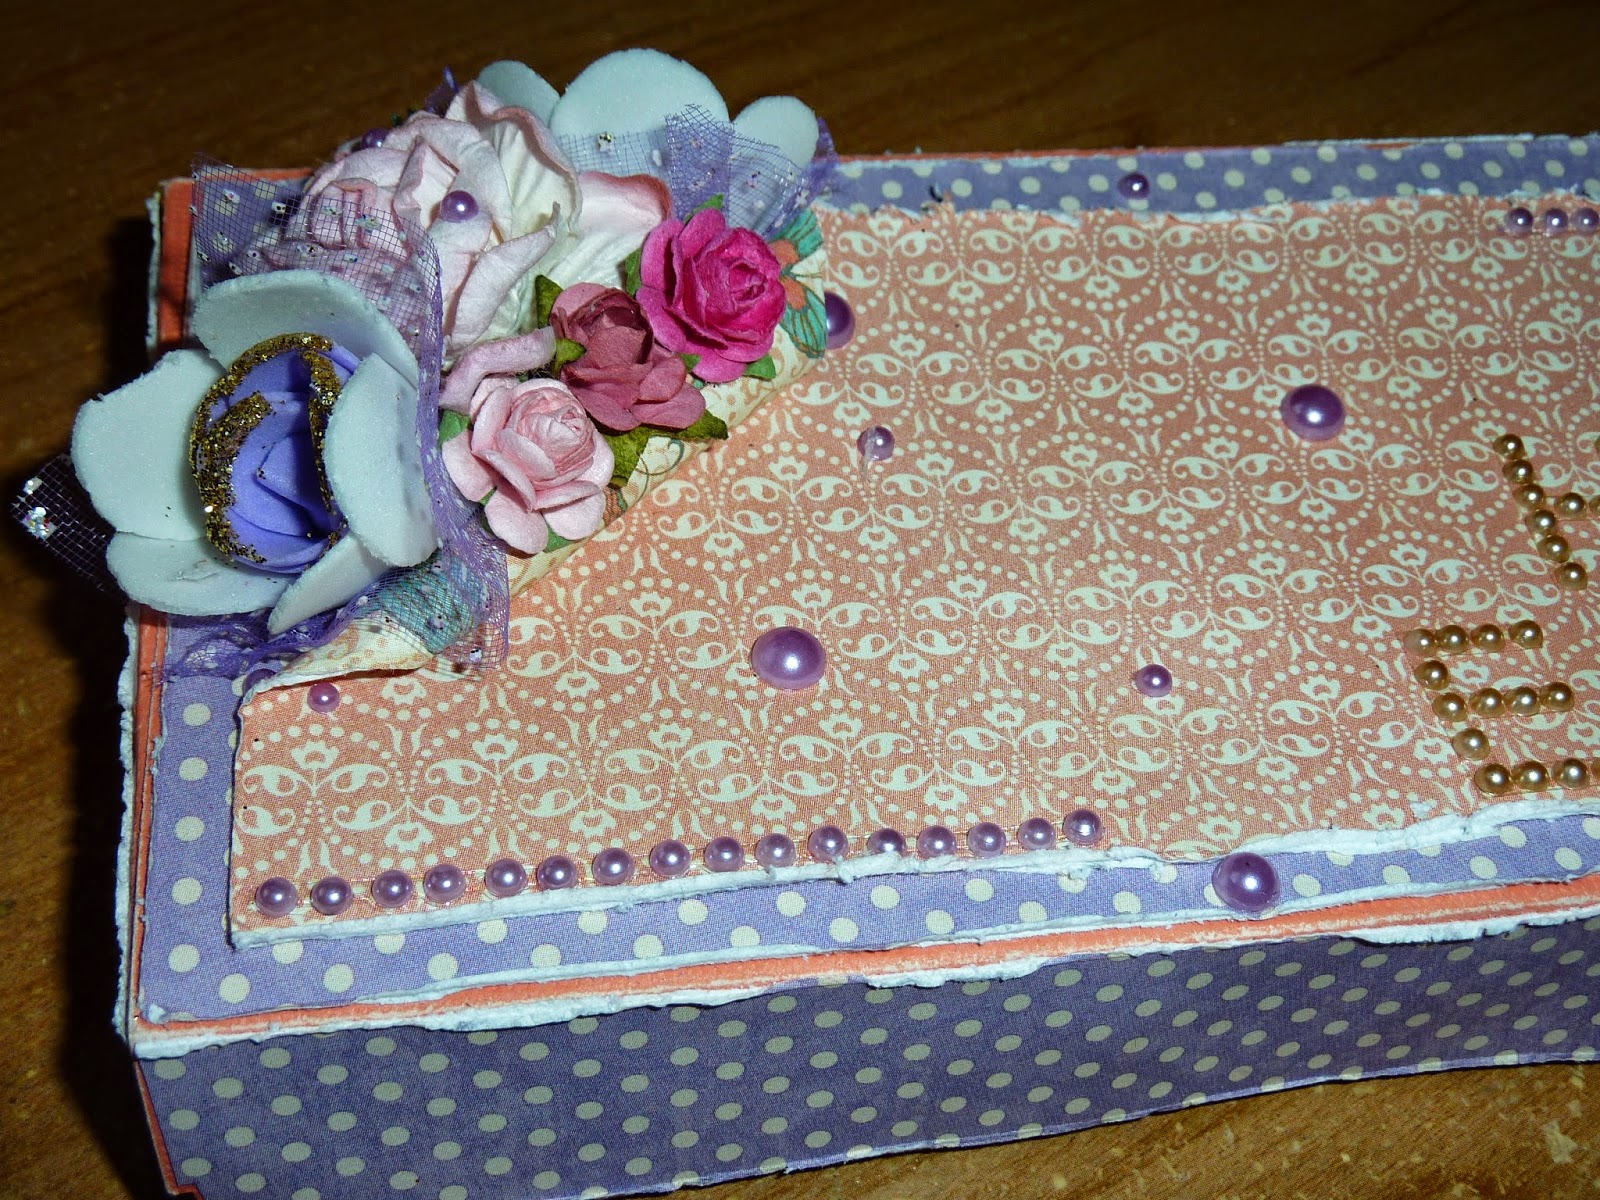
Now my layers are complete! Time to add my photo, title, journaling and embellishments! 


 Did you notice my word embellishments moved to the 81/2 x 11 Layout?  Removable adhesive is worthy!

A close up of my journaling certainly I have to explain this crazy photo!


I hope after this post you feel more comfortable with layering and give it try.  We would love to see what you come up with , tag your post layering 101 in the gallery.

Extreme Makeover by Emoniedezigns.com
Other Supplies Used:
Silhouette Cameo-font in Brush Script Std font, lipstick and mascara die cuts.
EK Success Photo Label Punch Large
Dear Lizzy Wood Veneers
Maggie Holmes Chipboard Stickers


LinkWithin

Related Posts Plugin for WordPress, Blogger...