Showing posts with label tutorial. Show all posts

Wednesday, February 4, 2015

Sweets for Your Sweetie!

Hello SOC loves!  With Valentine's Day right around the corner, I thought I would share a pretty simple, but adorable way to package up some yummy chocolate.


We love to make handmade gifts at our house and these hand-wrapped Hershey bars are a great treat for your sweetie, teachers or friends.  What's a little chocolate every now and then, right?  They are super cute and super easy to do.


For this project, grab the following:

Valentine Papers
Paper cutter
Scissors
 Adhesive 
Solid colored and white cardstock (for stamping)
Stamps
Your favorite ink
Ribbon (plain or decorative)


For the wrapper, cut patterned paper about inches 7 inches wide by 5.5 inches long (you can adjust the length depending on how much you want to the original wrapper to show or not.  Apply adhesive to one edge, wrap around the hershey bar and secure in the back.


Now it's time to embellish!  I cut some 1 3/4 inch by 5 inch strips, and free-hand cut a wide V at the bottom to make long pennants. Adhere them to the front.


Next, I cut some 2 1/4 inch scalloped squares on my Cricut, and layered a stamped image on top. You can use any shape you like :)


Once you adhere your stamped image, top your wrapper off with a cute bow (I like big, chunky bows) and your gift treat is ready!

Supplies used for this project:
Pattened paper: Recollections
Solid cardstock: Recollections
Stamps: Michaels Dollar Bin
Ribbon: Michaels Clearance Bin
Ink: Black StazOn

What are you making this Valentine's Day?  

Until next time!

Hugs,
Kimberly

Wednesday, January 21, 2015

INCOMING....OUTGOING

It seems that sending and receiving HAPPY MAIL is the new"right now". What used to be called just  "RAKS"(random acts of kindness) is now happily referred to as either "incoming" or "outgoing" - mail that is.  While doing my usual perusing for creative inspiration, I found a tutorial for a happy mail holder. It resembles a brochure-type folder that can hold all your creative goodies.  I think it puts a creative and interesting twist on sending out goodies to others.  Once you see how versatile this project is, you will never send out happy mail the same again.  Here's how I created my holder:

1. Cut 2 pieces of cardstock to an 81/2 x 11 size( of course you can create you own personal size)


2. Place the pieces of card stock together and fold in a brochure-type fashion by folding one side into the other. Use a bone folder to make a crisp fold and to make sure the pieces fit snugly together.
ETA:  Choose a solid card stock for the inside and a patterned piece for the outside.

3. Next, take the inside piece( the solid piece) and make cuts for pockets to hold your goodies. You can make these cuts according to the sizes of the items you will include in the holder.

The cuts are marked with the small clips.  Again, you can make your cuts to your own choosing.

4. Now, adhere the inside piece to the outer piece using adhesive of your choice.  Remember not to glue the cuts or pockets together.  You are finished with the construction, so now you can decorate your holder as you wish.  Your happy mail is ready to be sent on its way.

For added appeal and to hold everything together, why not create a belly band.
(JanetteLane.blogspot.com has the original tutorial)

*HAPPY MAILING*


Saturday, September 13, 2014

Instagram-esque Photo Filter for Scrapbooking

There are some really cool filters that people have been using on social media sites.  I was inspired to create a "real-life" filter for my scrapbooking layouts.  I created this minimalist layout using my hand-made filters.


Here is a simple tutorial on how to achieve this look.


Thanks for looking, hope you enjoy!

Friday, June 13, 2014

DIY Monogram Luggage Tag


Finally, the summer weather is here!  For many, this means packing bags and heading on vacation.  Here is a quick project that may help your luggage stand out as you fight your way through baggage claim.  I used products that I had on hand to create this sparkly monogrammed luggage tag.  Enjoy!


Friday, April 18, 2014

Easter Themed Card Box (A tutorial)!

Hello there!

I hope this Good Friday finds you in good spirit and with many crafty things on your to-do list this weekend!

For your viewing pleasure today, I've created what I hope is an in-depth tutorial as to how I made the box below.


I  made this box with the idea that I would also make coordinating cards to go inside of it (below).


I wanted to make a box that would have the following specs:
- only uses 1, 12x12 sheet of cardstock
- has a closure of some kind (in my case, a magnet closure)

The final dimensions of this box are: 8" x 3.5" x 1".

In doing so, I drew out a mini sketch to get the ball rolling:


And then I started getting crafty!

Tools you'll need include:
- a score tool of some kind
- scissors
- glue
- pretty papers and embellishments to decorate the box with!
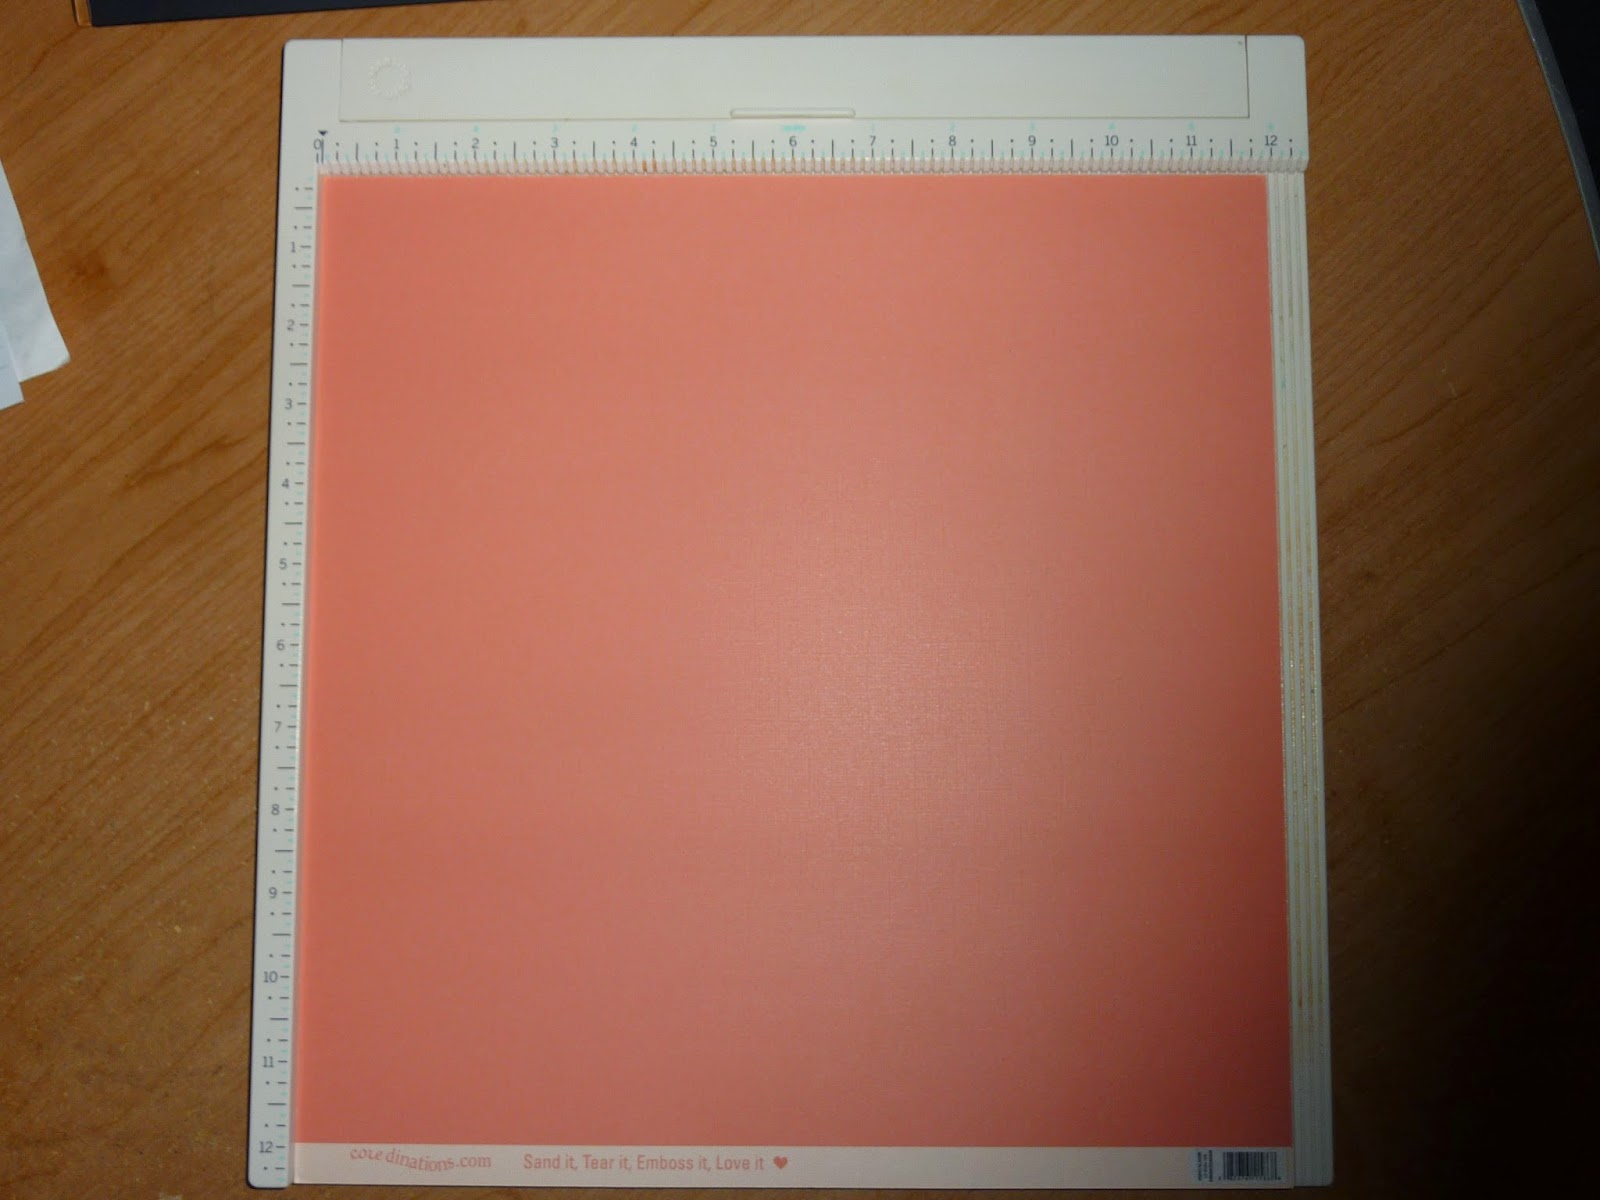

Set your paper up on/with whichever scoring tool you're using.
I'm using my MS score board.


Score the paper initially at 1", 2", 5.5", 6.5", 10" and 11".
A total of 6 score lines!

Rotate the paper counter clockwise by 90 degrees and score at 1" and 2".

Rotate the paper AGAIN, but this time by 180 degrees and score again at 1" and 2".

You now have 4 scored lines perpendicular to the first set of score lines.

You end up with the same setup as what I have pictured above.
Once all lines are scored, using the guide above, cut out all the squares within the score lines marked with an "X".

You end up with this cool shape.

Fold all of the score lines.

Now that we see where all the lines will fold, cut out the section of the folded area shown above.

You're left with a tab like piece.

And again for the other side...


You can now start adding the glue! We first add glue to the tab we just finished making.

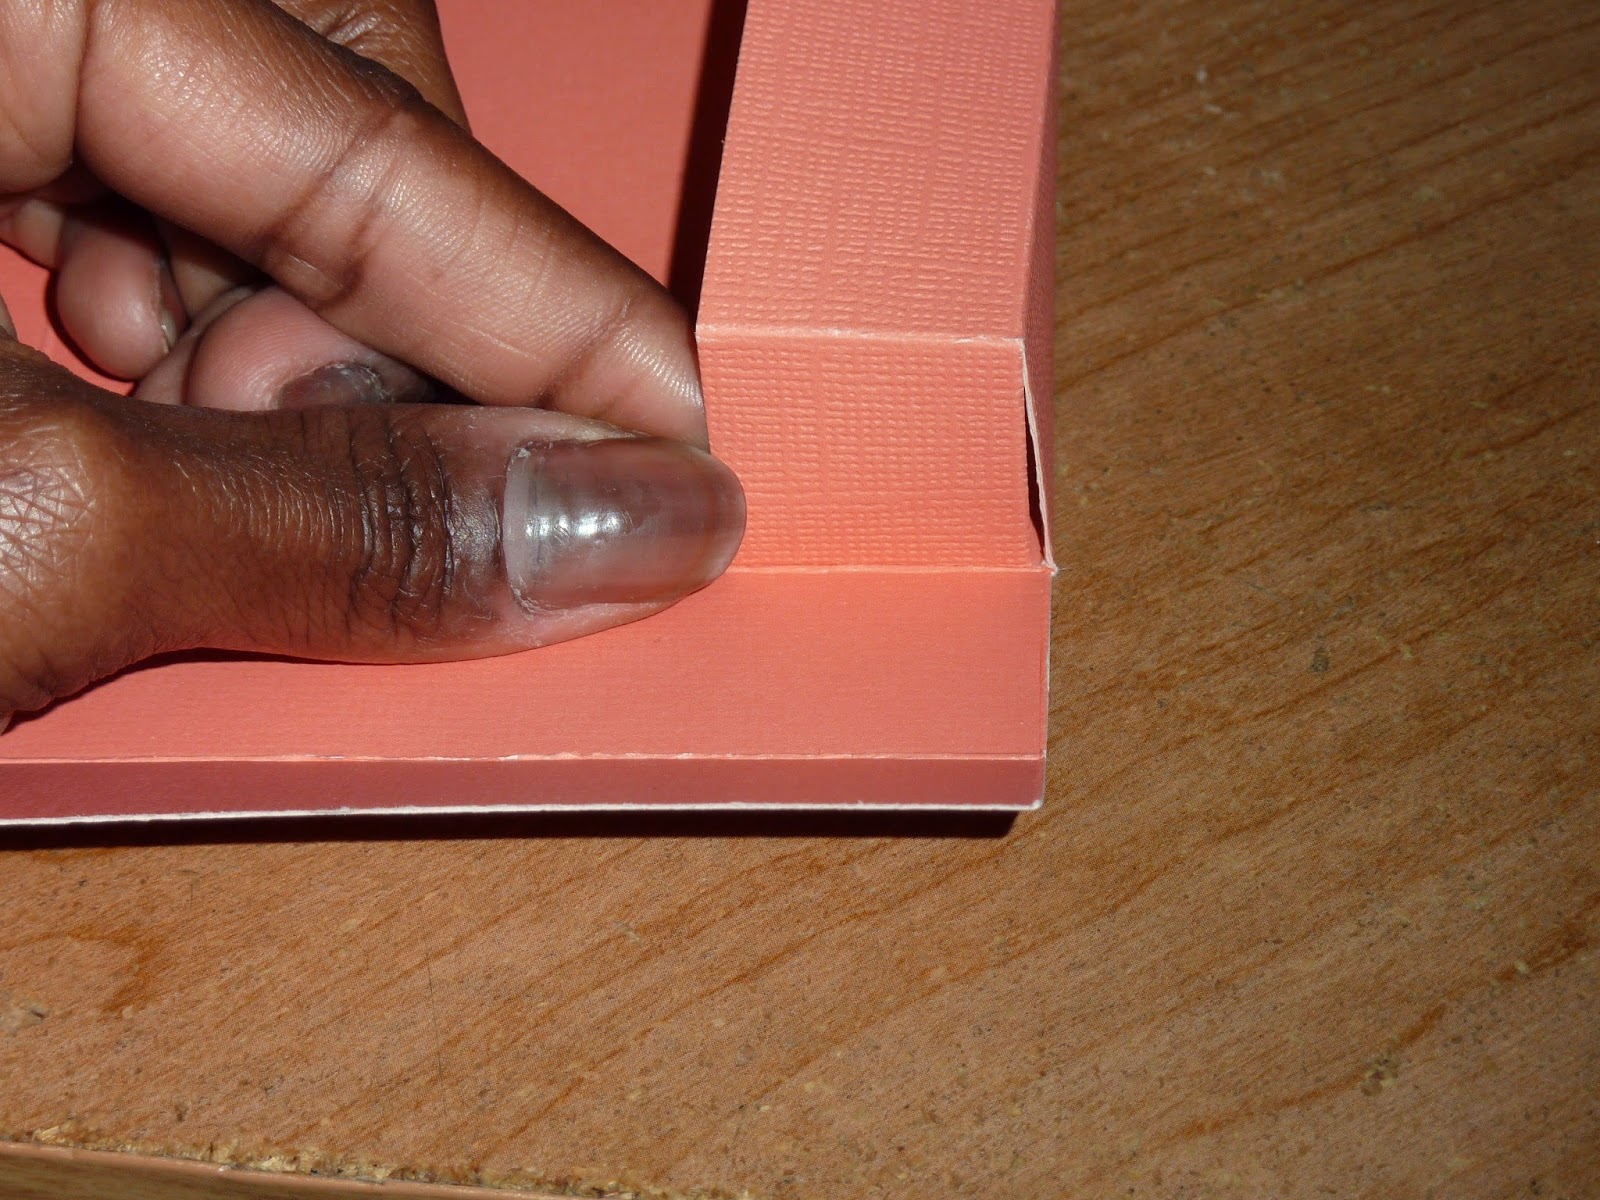
Then we bring the adjoining side up to meet the glued tab. 

Then we add glue to the top flap and glue it to the adjoining flap on top. 

Do the same for the other side/other tab.

Box is starting to come together!!! Whee!!

I used magnet closures on my box. You could of course use ribbon, seam binding, etc.

I marked the center of the flap where my magnet would go.


Then I added the other side of the magnet to the outer edge of the box where the flap would overlap.

This is the reason I added that extra 1" to the side with the closure.
If you will not be using a magnet, this could also be the side in which you hide any ends to seam binding or ribbon.
All you would need to do instead is pierce a tiny hole for it to come through. :)

I used my Deco corner chomper to do the edges of the box flaps.

Then I used my coredinations sanding block to rough up all the corners.

I then used some Sweet Sentiments paper from the 12x12 paper pack from Graphic 45 as the base paper for my box.

I also layered another sheet, this time from the 8x8 pad. Also from Sweet Sentiments.

Then I used some recollections bling stickers for my Easter greeting.
I also used a pencil to roll down the top left edge of the second layer of paper.
(It's easier to roll the paper if you mist it with water first!)

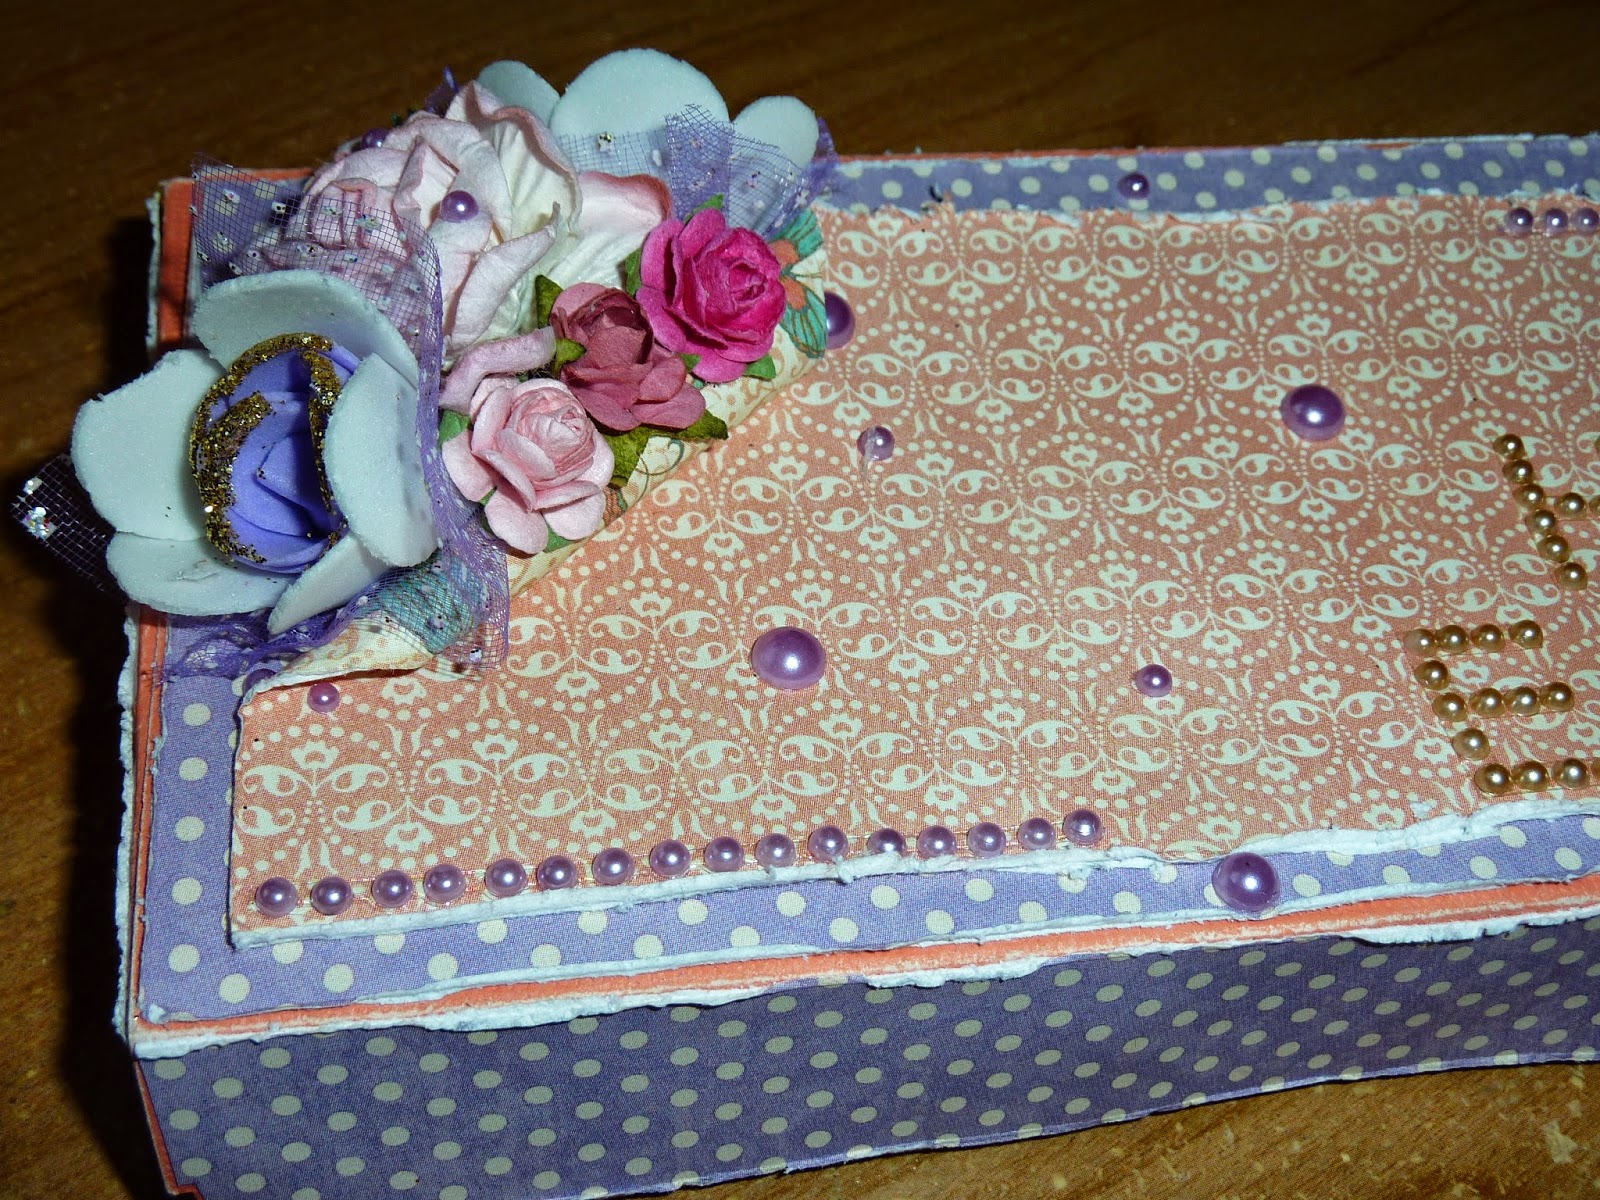
Then I threw on some random flowers and bling from my stash, and voila!
(Front View)

(Back View)


Phew!

I hope that wasn't an overload of a tutorial. :)

Oh! And I forgot to mention, I distressed ALL the edges of ALL the papers I used, except the paper I used for the base of the box.

Thanks so much for dropping by!
If you have any questions, please post them in the comment section and I'll hopefully be able to answer them!

Also! Please post a link to your blog or image gallery should you choose to make this box as well! I love looking at your pretty altered boxes!! :D

Super warm hugs!

Krafty Kerry signing off!
http://kerryscoolcreations.blogspot.com

Friday, December 6, 2013

Time to Trim the Tree

Embellishments make the prettiest ornaments.  I'm really on this 'Stop Hoarding' kick.  Making the use of my scrapbooking supplies is my goal.  I went to my Christmas stash and after organizing everything I wanted to see what project(s) I could make to use it up.  I've got to make room for next year right?  lol  My tree is up and I want to start a tradition of making homemade ornaments, especially for my niece and nephew.  I have two to share of which were made with coasters, sticks, fiber and embellishments. 

Recipe: 
Deasy Designs digital images
Bic Mark it markers
Stickles
Flower Soft Polar White Diamond Range
Little Yellow Bicycle die cut
Archivers die cut
 
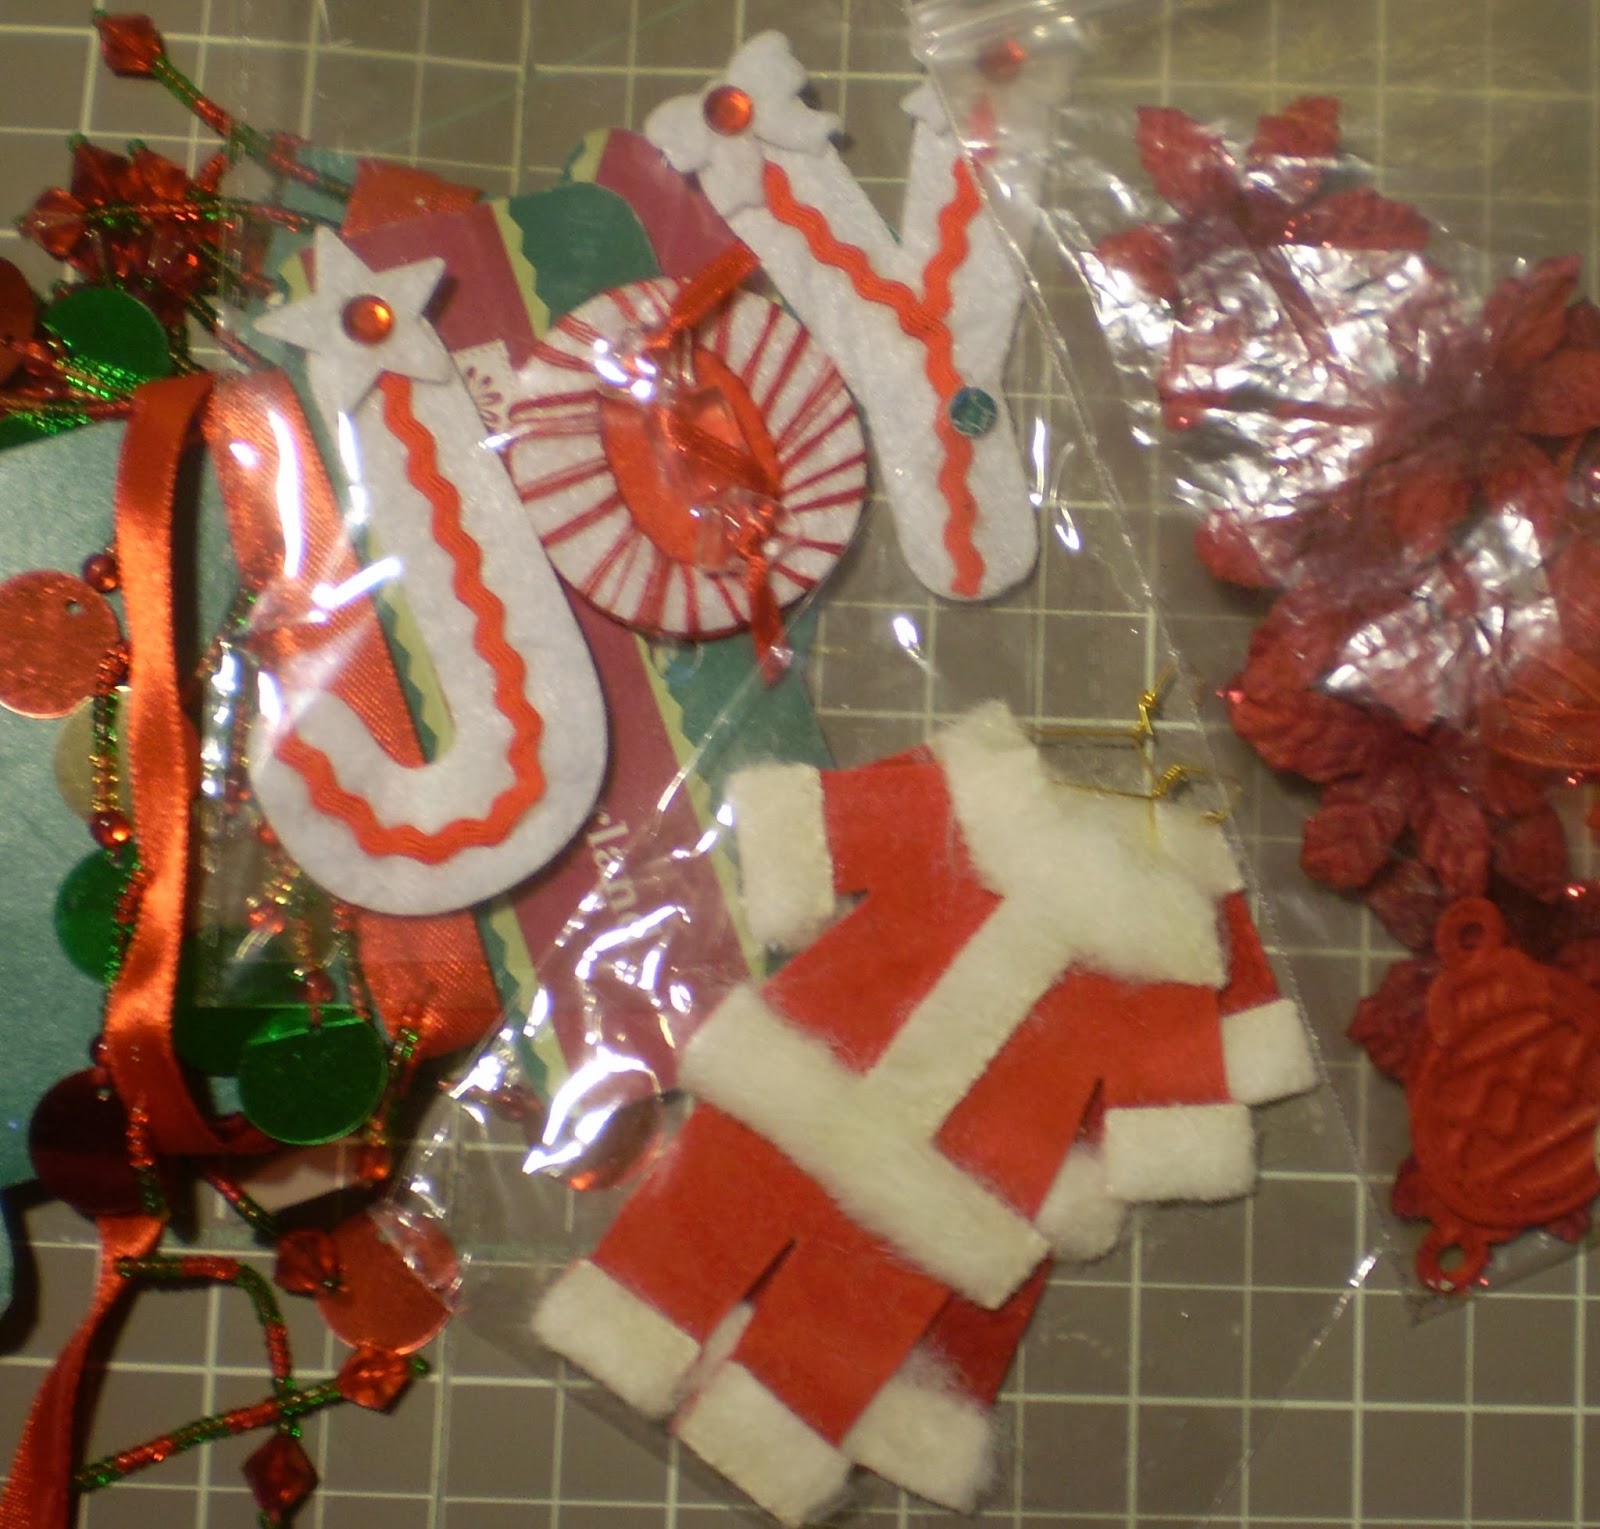
 This is what I pulled from my stash.


I painted the coasters front and back.
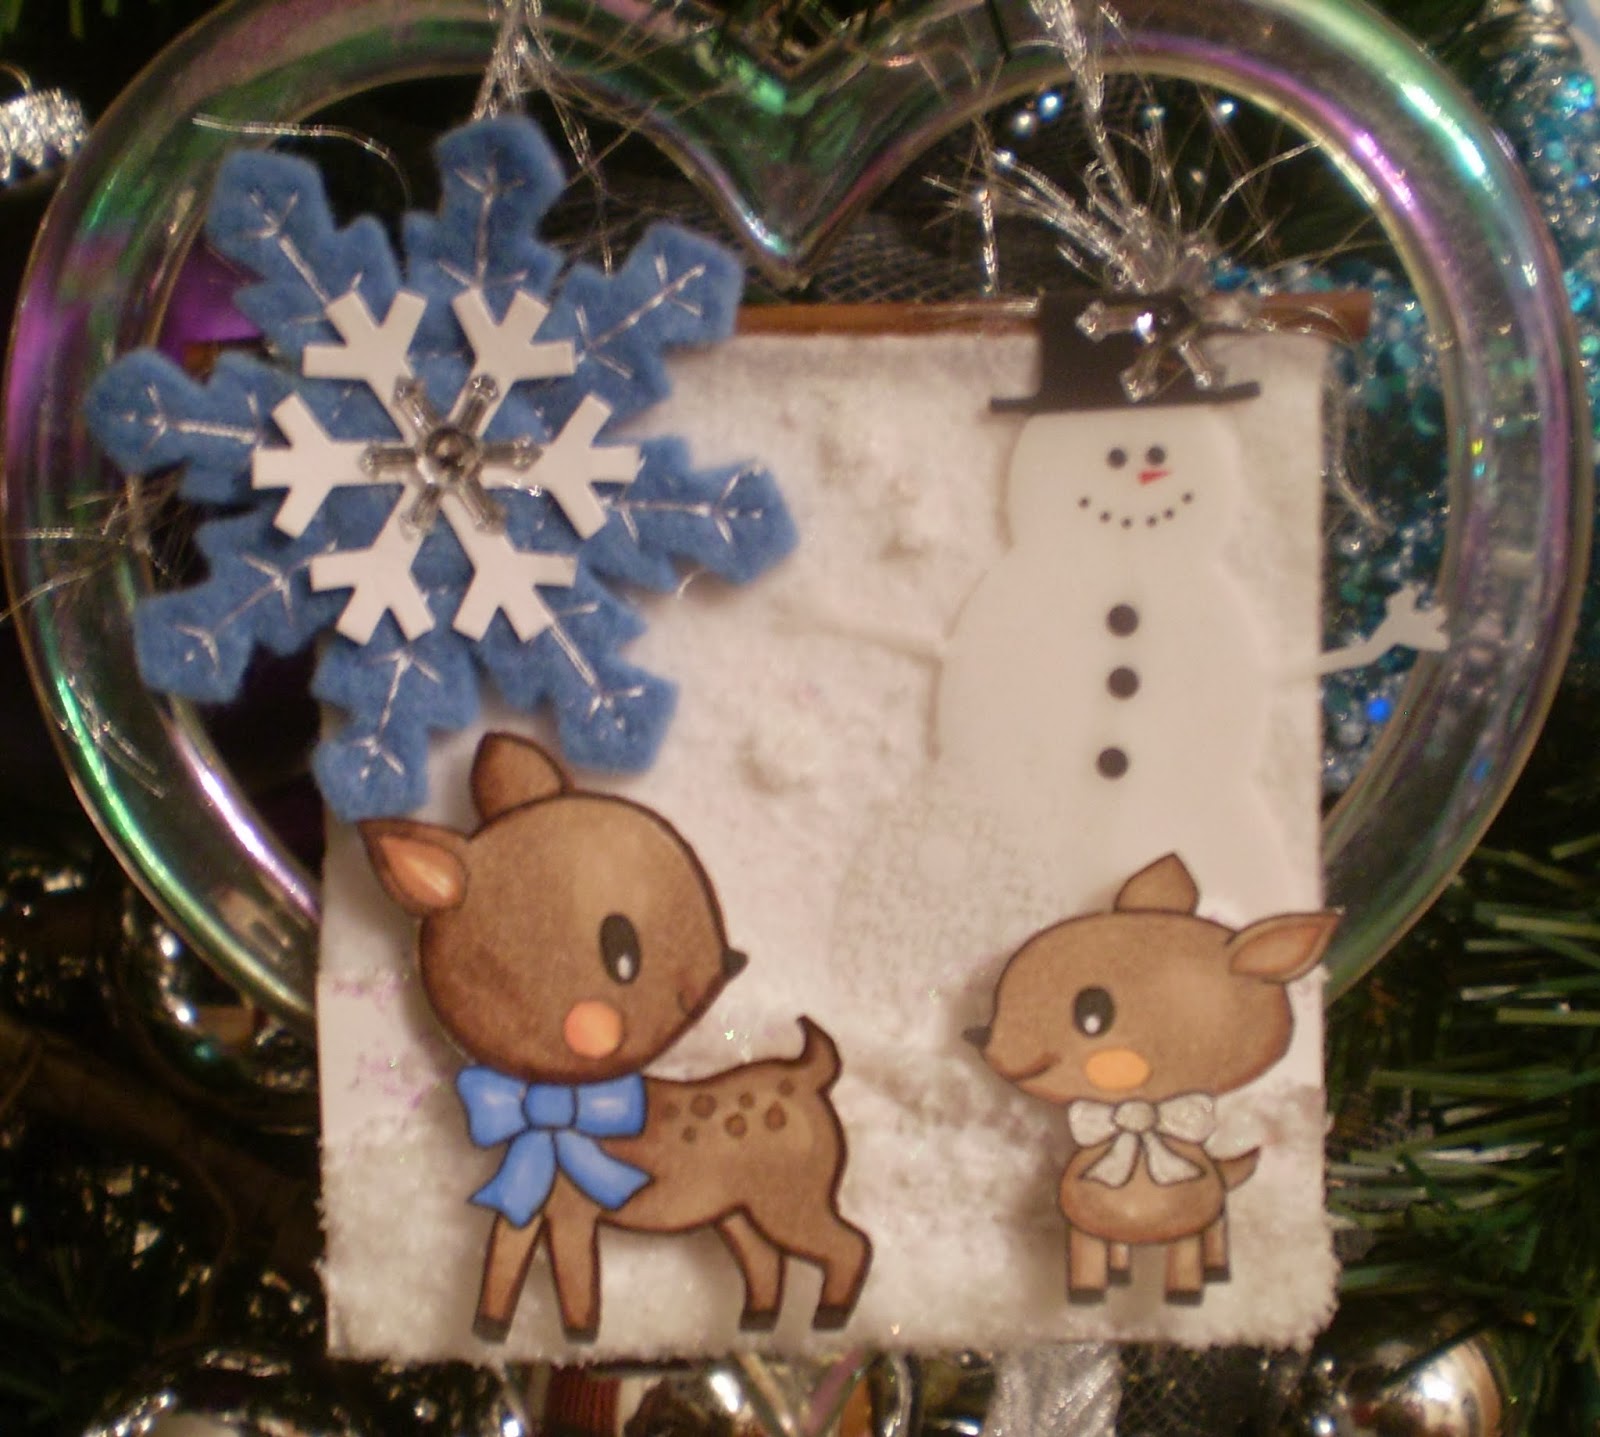
The fiber was tied to both ends of the stick.  My X-Acto gripster was used to cut in the stick to better hold the fiber.  It was attached to the coaster that was fully embellished.  Of course this is the blue/white theme.  It's covered with white felt and I piled on the love.

 
I am crazy about this one!  I love the snow....well I love the snow on the ornament or looking at it, but not driving in it.  As long as it doesn't stay on the streets and ice up I'm okay. 

Close UP  Can you see the Flower Soft Diamond Range and Stickles and on the top for snow?
This is the second one using a Snow theme.  I've had these embellishments over 10 years.  Each year they go back in the Christmas storage tub, but this year I used them up and I love how they came out.

The 3D brad is by Recollection, which is about five years old.  I like the wood on white.
Close Up

 I'm working on my red and white collection now.  Hope I've inspired you to use up those cute embellies into ornaments that you can view year after year after year.    Yes my tree is up!  Merry Christmas and a Happy Holiday to all!


LinkWithin

Related Posts Plugin for WordPress, Blogger...