Showing posts with label autumn. Show all posts

Monday, October 13, 2014

A Pile of Leaves

Ahh, autumn is officially here! It is my most favorite season of all.  The colorful trees are like beautiful bouquets of flowers...except tree-sized.  I was inspired to create a card that displayed the beauty of the changing leaves.  

It was simple to create, although there was a bit of fussy cutting involved.  To create this card print out photographs of fallen leaves.  If you don't have any, you can find lots of pictures online (these are the leaves that I used).  Once the leaves are printed, cut each leaf out being sure not to leave any white space around the edges.  Next, adhere the leaves to a card base in a random layout, try not to leave any of the card base showing.  The goal is to mimic the way leaves look when they fall naturally to the ground.  Finally add a sentiment and baker's twine to finish the card.  I chose a wooden sentiment from Studio Calico to keep with the organic feel.

This was a different style of card for me, but I really like how it turned out.  

Thanks for looking!

Thursday, November 8, 2012

The Wild Splendor

Hello FALL!
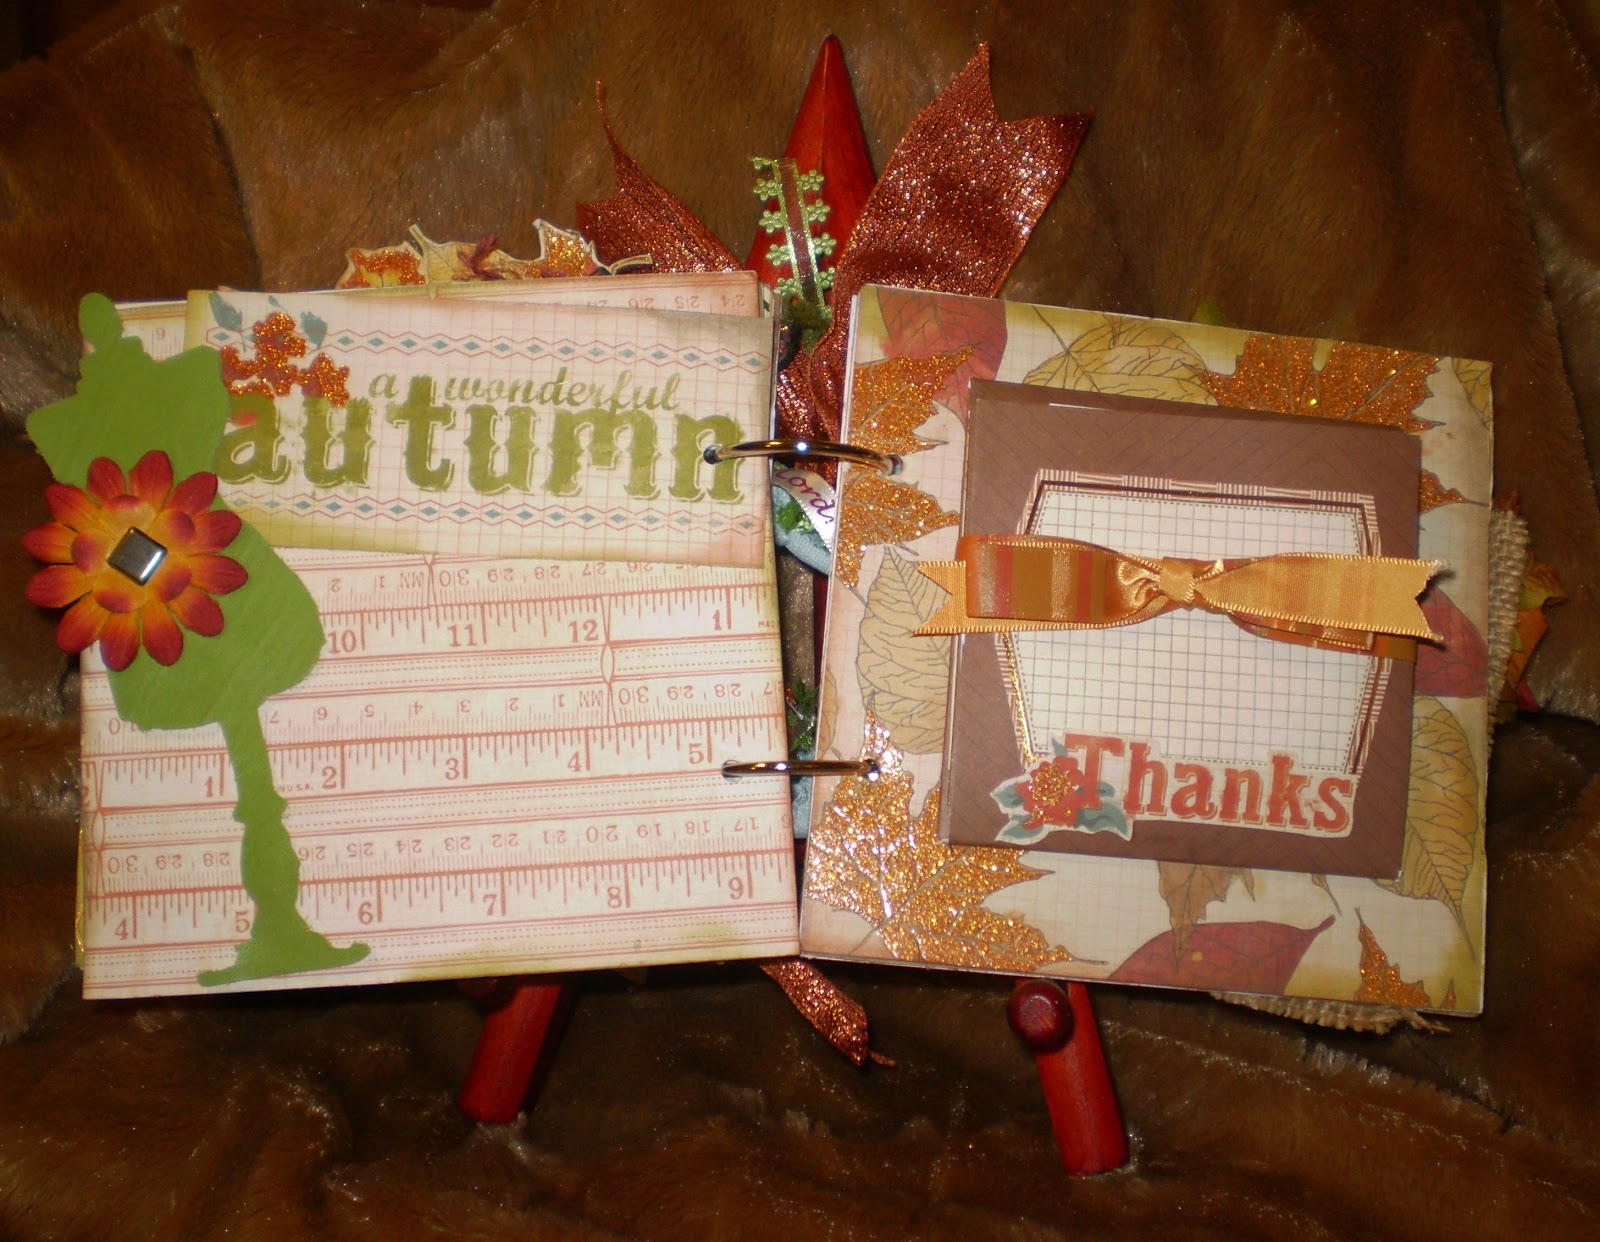
When I picked up this Die Cut With A View The Wild Splendor paper stack, I knew I had to make a mini album to capture all of the pretty paper.  Every sheet was used.  I LOVE the Fall Season and this year I'm going to put our Thanksgiving photos in it. The stack has papers, journaling blocks, words etc.  I love the pretty ribbons I got from my stash and added a few other embellies throughout. I hope you notice the chain on the clip.  It has metal leaves that I received from a RAK from my SOC sistah Scrap.n.Sista.
Every page on the right has a surprise.  This one has a fall out page. 
 It opens to a heart card die cut I got from Archivers and the right side opens to a flap.
On the right of this page it has an envelope on top and when you open that flap there is room for more photos.
 I put another heart die cut for more photos.  On the inside flaps I will journal.
 I must give another shout out to my SOC sister Roz Edwards. She sent me the Tim Holtz dress form.  Now on the right side it's an explosion page tied up in a fall ribbon.  See below...
 Yes an explosion box.  I like to put them in my mini's for extra pictures and journaling.  It was decorated with leftover scraps.  The paper is too pretty to throw away.  : )
 And for the back.  I used the chipboard piece which was actually a tag I created from SOC Friday Night Chat.  When I create I always plan to use it on something.  Of course I added a piece of cardstock and embossed it with a Cuttlebug die. The burlap was added to give it a little warmth. 
 So when you take your fall photos will you leave them on your camera or phone OR will you put them in a mini?  I just LOVE mini memories! 

Thursday, September 13, 2012

Change Your Hair With the Weather...using Photoshop


The seasons are changing once again.  In a few weeks it will officially be Autumn…my favorite season!  Autumn is the most beautiful of the seasons.  It seems even mother-nature is ready for a make-over by the time Fall rolls around.  The bright colors of the trees and leaves are simply breathtaking!

Well, if you would like to take a cue from mother-nature you may be interested in your own make-over.  Perhaps, a new outfit, a drastic hair cut or maybe even a new hair color?  Not ready to commit?  No worries, here is a quick tutorial on how to change your hair color using Photoshop.  It can be a fun idea for a scrapbook layout or maybe just to change the look of your SOC profile pic.
  • Step 1: Open a copy of the desired image in Photoshop. (Be sure to use a copy and not the original)
  • Step 2: Select the Polygonal Lasso Tool and set it to 15px feathered.
  • Step 3: Draw a selection around the area of hair you would like to color.
  • Step 4: Copy the selection and “Paste in Place” (Shift + Ctrl +V).  (This will drop the selection on a new layer in the exact same spot.) Rename this layer “Hairpiece.”
  • Step 5: In the Adjustments Tab, click the Color Balance Icon. A new item will appear in the Layers Tab.
  • Step 6:  Play with the colors until you have a shade you are happy with.

Did your entire picture change colors? Don’t worry that is supposed to happen.  We will fix that in the next step.

  • Step 7:  Holding down the “Alt” key on your keyboard.  Click between the "Color Balance" layer and your “Hairpiece” layer (You will know you are in the right place when your cursor changes shape). This will attach the "Color Balance" layer to the hair piece selection, while the rest of your image goes back to the original color.
  • Step 8: That’s it!  Save your image as a jpg or other image file and you are done!
*Tip: You can always re-adjust the color of your hair highlights by double clicking the black and white circle in the "Color Balance" layer.

Give it try! What color will you choose?

*Image is stock photography.

LinkWithin

Related Posts Plugin for WordPress, Blogger...