Showing posts with label stickles. Show all posts

Sunday, July 6, 2014

What's In A Blog Name?

I took another project off my 'Crafty Things To Do List'.  I've been wanting to make a plaque with my blog name on it, but today my Design Team post is a Canvas.  I'm satisfied!  I thought I would play with a few of my Faber Castell products that were still in the package.  After watching a few videos, I took the plunge and this is what I created representing my blog name.

Recipe ingredients:
Faber Castell gelatos
Colorbox Chalk ink
Tsukineko chalk ink
Stazon ink
Studio 71 canvas paper
Prima Bloom Girl
Canvas Corp - canvas
Recollections stamps, metal and stickers
Webster's Pages fabric sticker and flowers
Prima and Recollection flowers
K & Company Sea Glass chipboards
Making Memories mesh
Martha Stewart butterfly punches
Provo Craft alphabet stamps
Stickles - variety
Copic and Bic Mark it markers
Kimberly watercolor pencils
Here are just a few products I pulled out to get this canvas started.  I decided to use my film strip stamp, inked it on acetate paper and added a clock stamp to it.  The prayer was cut in strips to capture it on the page filling it with lots of embellishments to create the tropical decor. 


This is how I made my banner using Studio 71 canvas sheet.  I poured on the gesso then added my gelatos and sprays.  After it dried, various stamps were added.  I cut some in strips and added it to the canvas.  Butterfly punches, a heart and the banner were cut with the paper.  Chalk inks were added to the ends to define the paper.


This is My Scrapbook Prayer that Tiare featured in  Scraps of Color E Magazine years ago that I wrote in 2008 after attending a Scrapbook Extravaganza.  It is still dear to my heART!  I love the Prima Bloom Stamp....A 'Natural' Beauty just like me.

Do you have a blog plaque or sign in your Craft room?  If not, I hope I have inspired you to create one.

Love,
Princess

Friday, December 6, 2013

Time to Trim the Tree

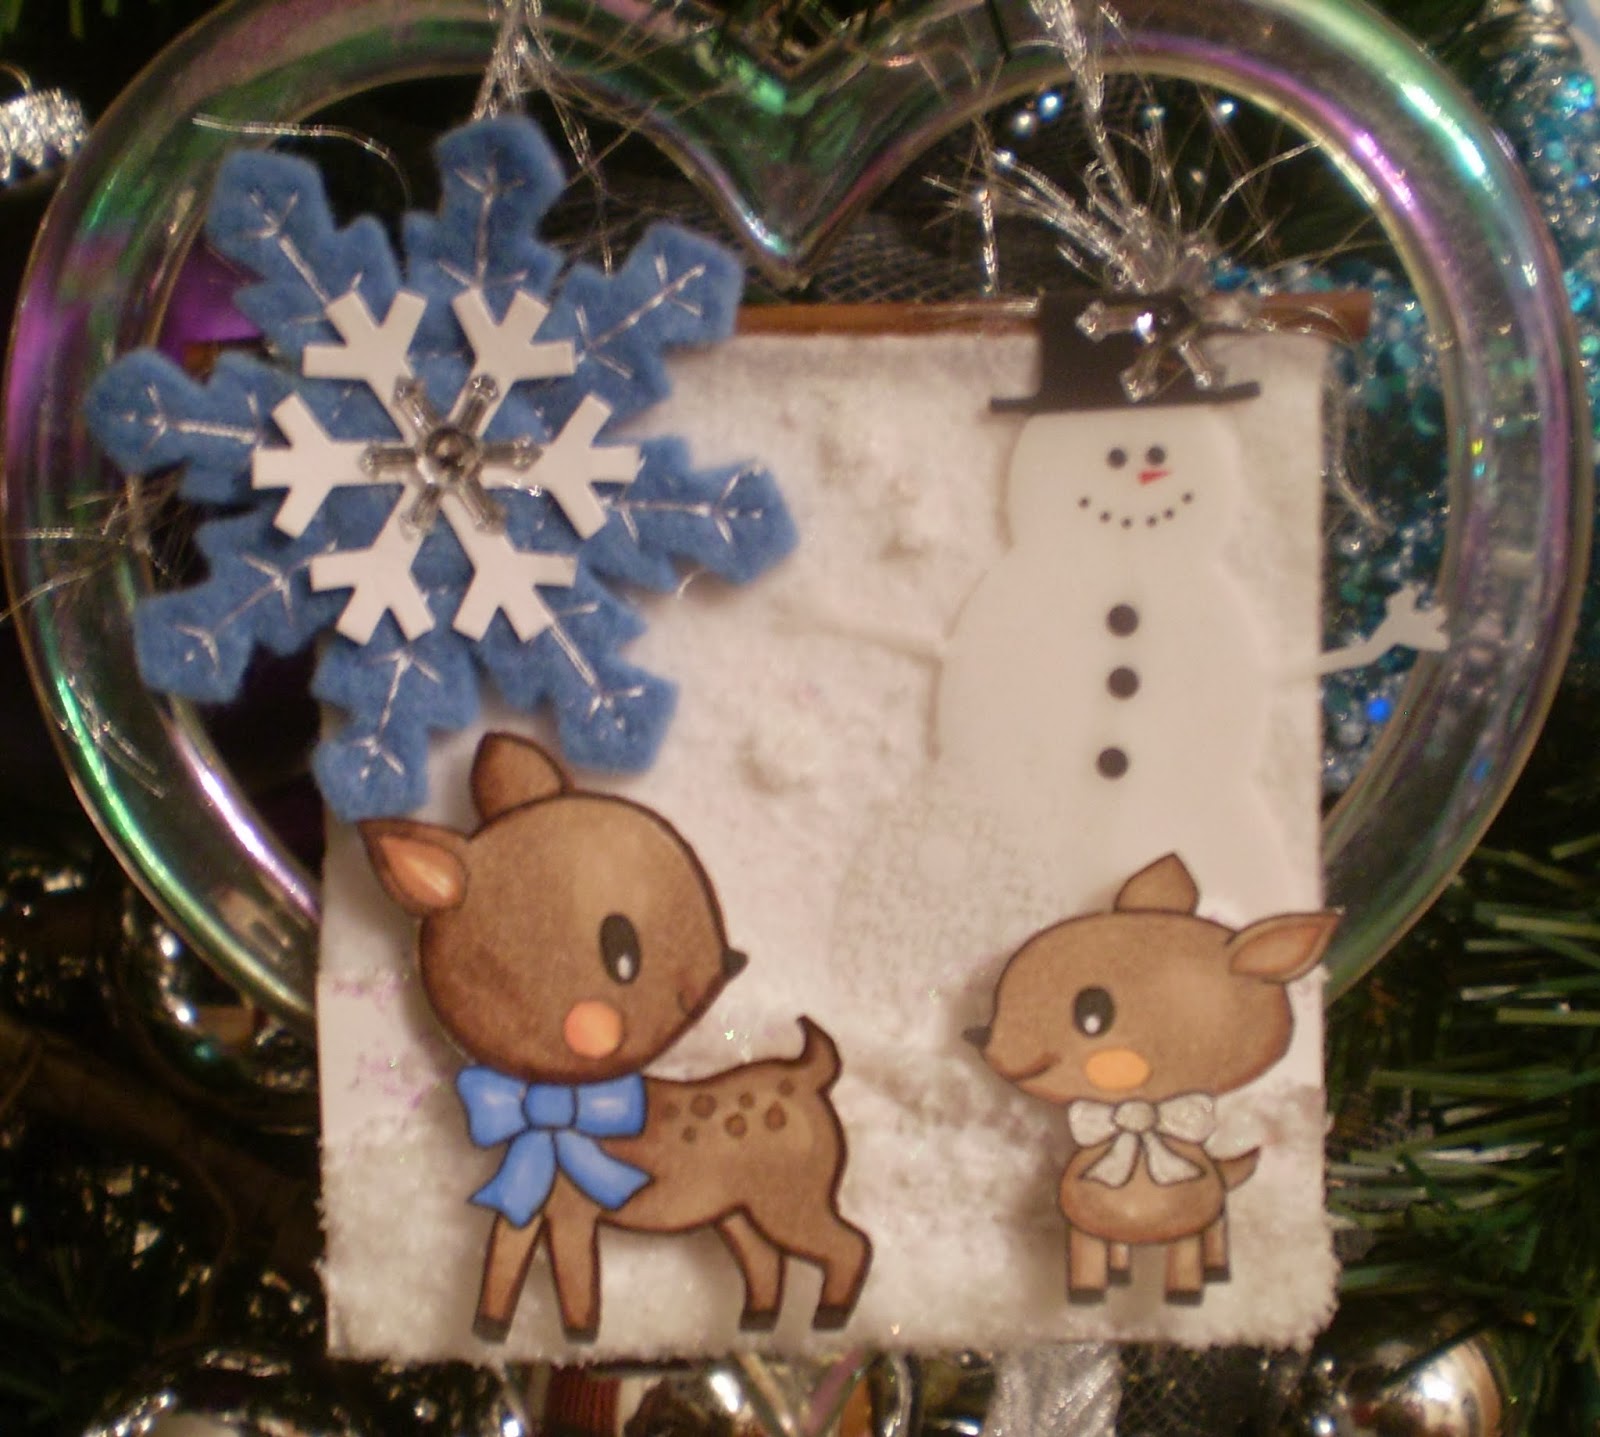
Embellishments make the prettiest ornaments.  I'm really on this 'Stop Hoarding' kick.  Making the use of my scrapbooking supplies is my goal.  I went to my Christmas stash and after organizing everything I wanted to see what project(s) I could make to use it up.  I've got to make room for next year right?  lol  My tree is up and I want to start a tradition of making homemade ornaments, especially for my niece and nephew.  I have two to share of which were made with coasters, sticks, fiber and embellishments. 

Recipe: 
Deasy Designs digital images
Bic Mark it markers
Stickles
Flower Soft Polar White Diamond Range
Little Yellow Bicycle die cut
Archivers die cut
 
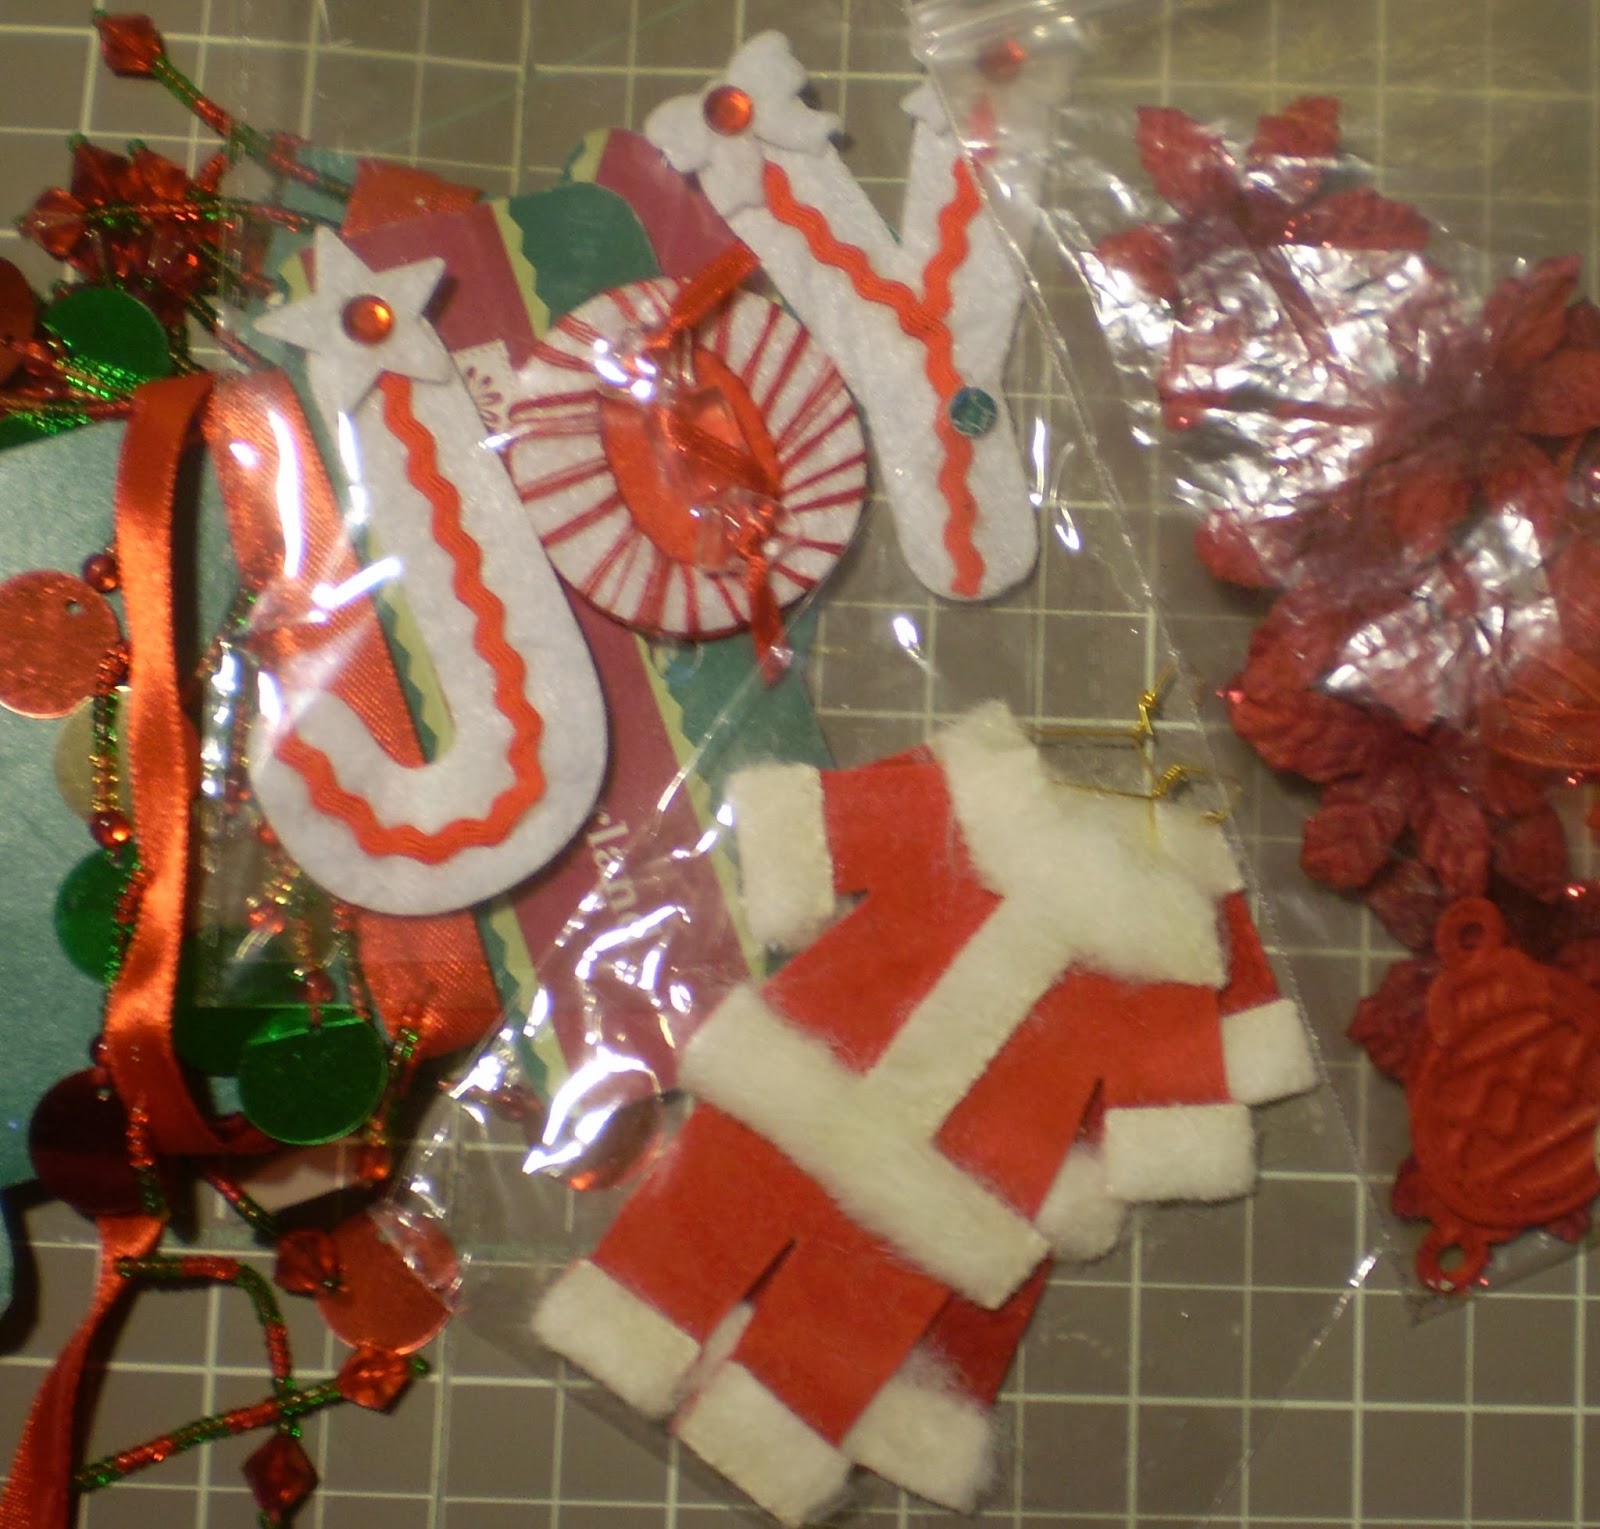
 This is what I pulled from my stash.


I painted the coasters front and back.
The fiber was tied to both ends of the stick.  My X-Acto gripster was used to cut in the stick to better hold the fiber.  It was attached to the coaster that was fully embellished.  Of course this is the blue/white theme.  It's covered with white felt and I piled on the love.

 
I am crazy about this one!  I love the snow....well I love the snow on the ornament or looking at it, but not driving in it.  As long as it doesn't stay on the streets and ice up I'm okay. 

Close UP  Can you see the Flower Soft Diamond Range and Stickles and on the top for snow?
This is the second one using a Snow theme.  I've had these embellishments over 10 years.  Each year they go back in the Christmas storage tub, but this year I used them up and I love how they came out.

The 3D brad is by Recollection, which is about five years old.  I like the wood on white.
Close Up

 I'm working on my red and white collection now.  Hope I've inspired you to use up those cute embellies into ornaments that you can view year after year after year.    Yes my tree is up!  Merry Christmas and a Happy Holiday to all!


Friday, September 13, 2013

It Packs A Punch!

Happy Friday!!! This weekend could not come soon enough for me!  I intend to get lots of scrapbooking in.  I got an early start by creating this layout last night.  The pictures were taken while at a crop with friends, laughing, joking and off course a little scrapping.

My goal was to use a single tool to create most of the elements on my layout.  I decided to pull out an old paper punch by McGill Creativity (circa 2003?!).  The design is called “Mini Round Envelope” so I am guessing it is supposed to be used to create envelopes.  But, in my opinion the mini envelopes are so small I can’t imagine using them for anything.  When I purchased the punch, many moons ago, my plan was to use it to create my own flowers.


I randomly punched “flowers” out of a piece of craft cardstock.  The negative paper was used to create a unique background for my layout, while the positive punched out shapes were used to create a flower embellishment. 


So, what can you do with some of your older tools? How many ways can you put them to work on a single layout?

Supplies: AC "Ready Set Go" Paper Pack, October Afternoon "Woodland Park" Paper Pack, AC Thickers, Ranger Stickles

LinkWithin

Related Posts Plugin for WordPress, Blogger...