I hope this Good Friday finds you in good spirit and with many crafty things on your to-do list this weekend!
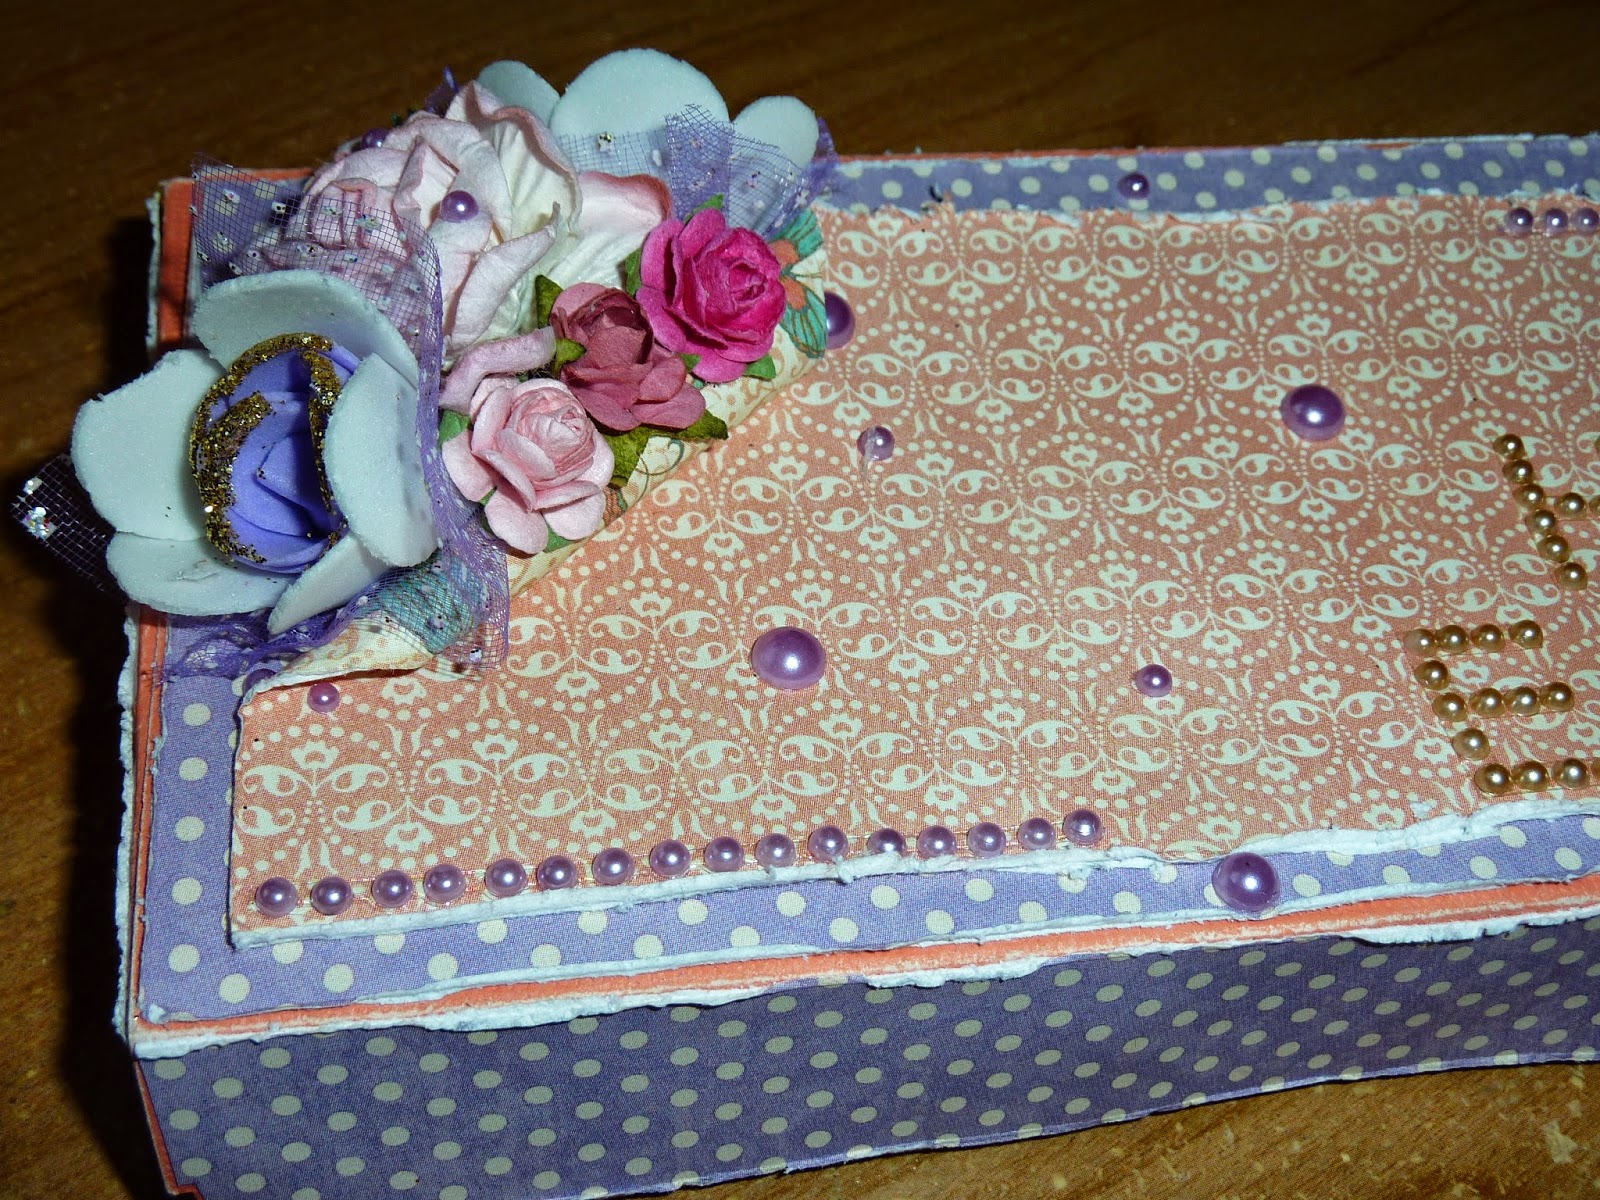
For your viewing pleasure today, I've created what I hope is an in-depth tutorial as to how I made the box below.
I made this box with the idea that I would also make coordinating cards to go inside of it (below).
I wanted to make a box that would have the following specs:
- only uses 1, 12x12 sheet of cardstock
- has a closure of some kind (in my case, a magnet closure)
The final dimensions of this box are: 8" x 3.5" x 1".
In doing so, I drew out a mini sketch to get the ball rolling:
And then I started getting crafty!
Tools you'll need include:
- a score tool of some kind
- scissors
- glue
- pretty papers and embellishments to decorate the box with!
 |
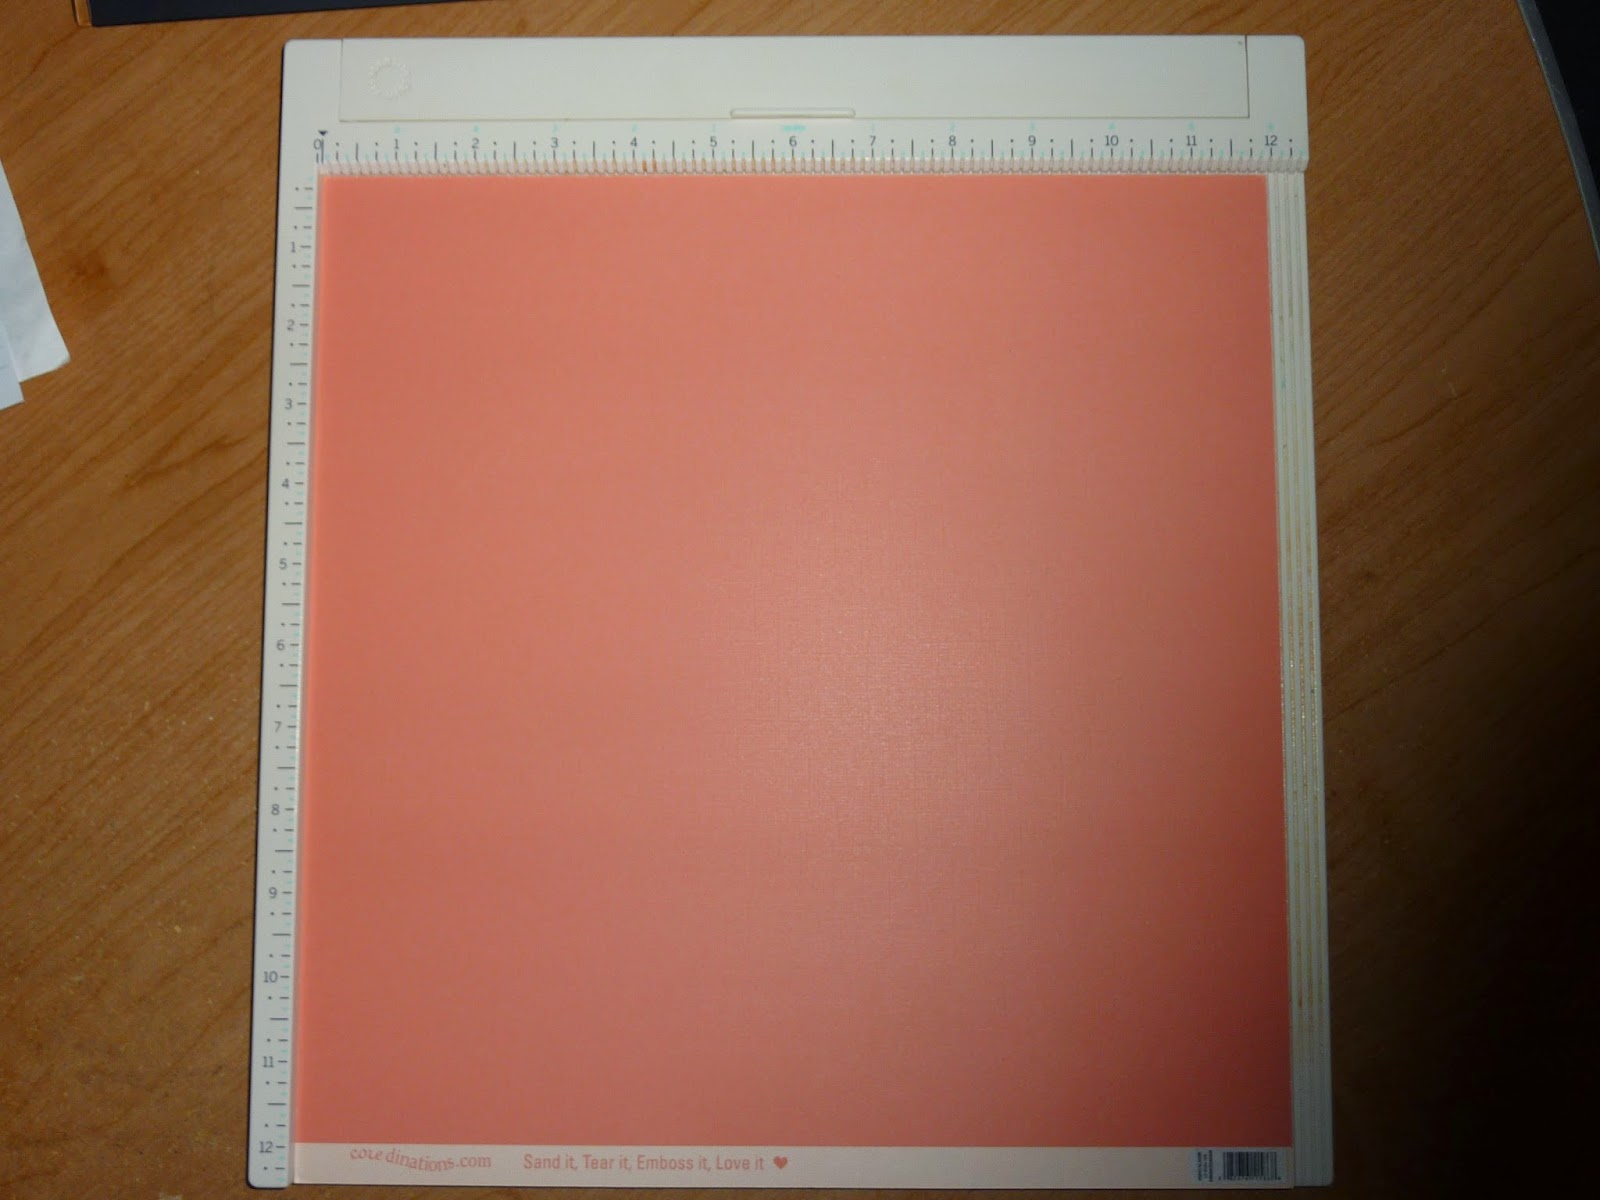
| Set your paper up on/with whichever scoring tool you're using. I'm using my MS score board. |
 |
| Score the paper initially at 1", 2", 5.5", 6.5", 10" and 11". A total of 6 score lines! |
 |
| You end up with the same setup as what I have pictured above. Once all lines are scored, using the guide above, cut out all the squares within the score lines marked with an "X". |
 |
| You end up with this cool shape. |
 |
| Fold all of the score lines. |
 |
| Now that we see where all the lines will fold, cut out the section of the folded area shown above. |
 |
| You're left with a tab like piece. |
 |
| And again for the other side... |
 |
 |
| You can now start adding the glue! We first add glue to the tab we just finished making. |
 |
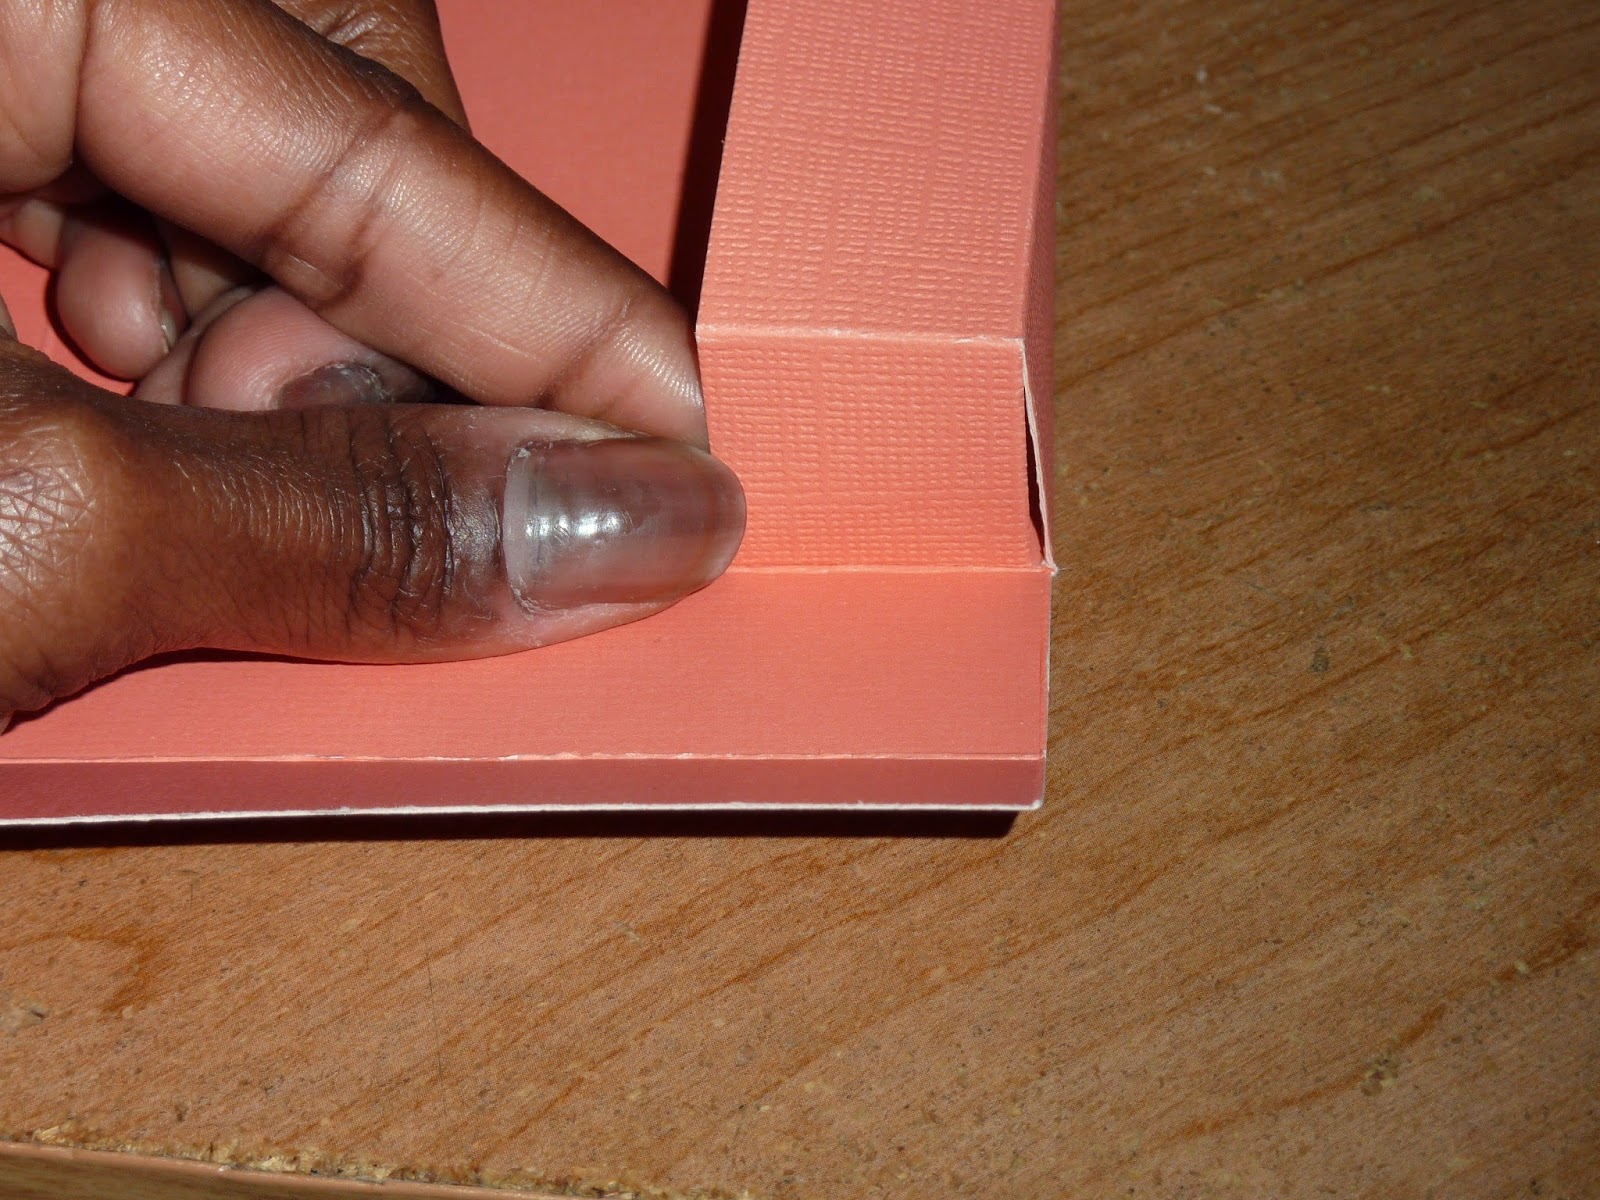
| Then we bring the adjoining side up to meet the glued tab. |
 |
| Then we add glue to the top flap and glue it to the adjoining flap on top. |
 |
| Do the same for the other side/other tab. |
 |
| Box is starting to come together!!! Whee!! |
 |
| I used magnet closures on my box. You could of course use ribbon, seam binding, etc. |
 |
| I marked the center of the flap where my magnet would go. |
 |
| Then I added the other side of the magnet to the outer edge of the box where the flap would overlap. |
 |
| I used my Deco corner chomper to do the edges of the box flaps. |
 |
| Then I used my coredinations sanding block to rough up all the corners. |
 |
| I then used some Sweet Sentiments paper from the 12x12 paper pack from Graphic 45 as the base paper for my box. |
 |
| I also layered another sheet, this time from the 8x8 pad. Also from Sweet Sentiments. |
 |
| Then I threw on some random flowers and bling from my stash, and voila! (Front View) |
 |
| (Back View) |
I hope that wasn't an overload of a tutorial. :)
Oh! And I forgot to mention, I distressed ALL the edges of ALL the papers I used, except the paper I used for the base of the box.
Thanks so much for dropping by!
If you have any questions, please post them in the comment section and I'll hopefully be able to answer them!
Also! Please post a link to your blog or image gallery should you choose to make this box as well! I love looking at your pretty altered boxes!! :D
Super warm hugs!
Krafty Kerry signing off!
http://kerryscoolcreations.blogspot.com


Gorgeous Easter box! Love the step outs. Thanks for sharing. :)
ReplyDelete