Friday, February 13, 2015
Je T'aime Card
Saturday, October 25, 2014
A little Trick and Treat
Here is a close up of her. She is just so sassy and cute to me. Now it's your turn; if you have any "holloween or Harvest projects that you want to share I would love to see them. Or if you have any comments or questions; please feel free to leave a comment. I hope you all enjoy the rest of the month.
Happy Crafting.
Sharette
Monday, October 13, 2014
A Pile of Leaves
 Ahh, autumn is officially here! It is my most favorite season of all. The colorful trees are like beautiful bouquets of flowers...except tree-sized. I was inspired to create a card that displayed the beauty of the changing leaves.
  It was simple to create, although there was a bit of fussy cutting involved. To create this card print out photographs of fallen leaves. If you don't have any, you can find lots of pictures online (these are the leaves that I used). Once the leaves are printed, cut each leaf out being sure not to leave any white space around the edges. Next, adhere the leaves to a card base in a random layout, try not to leave any of the card base showing. The goal is to mimic the way leaves look when they fall naturally to the ground. Finally add a sentiment and baker's twine to finish the card. I chose a wooden sentiment from Studio Calico to keep with the organic feel.
 Friday, April 18, 2014
Easter Themed Card Box (A tutorial)!
I hope this Good Friday finds you in good spirit and with many crafty things on your to-do list this weekend!
For your viewing pleasure today, I've created what I hope is an in-depth tutorial as to how I made the box below.
I made this box with the idea that I would also make coordinating cards to go inside of it (below).
I wanted to make a box that would have the following specs:
- only uses 1, 12x12 sheet of cardstock
- has a closure of some kind (in my case, a magnet closure)
The final dimensions of this box are: 8" x 3.5" x 1".
In doing so, I drew out a mini sketch to get the ball rolling:
And then I started getting crafty!
Tools you'll need include:
- a score tool of some kind
- scissors
- glue
- pretty papers and embellishments to decorate the box with!
 |
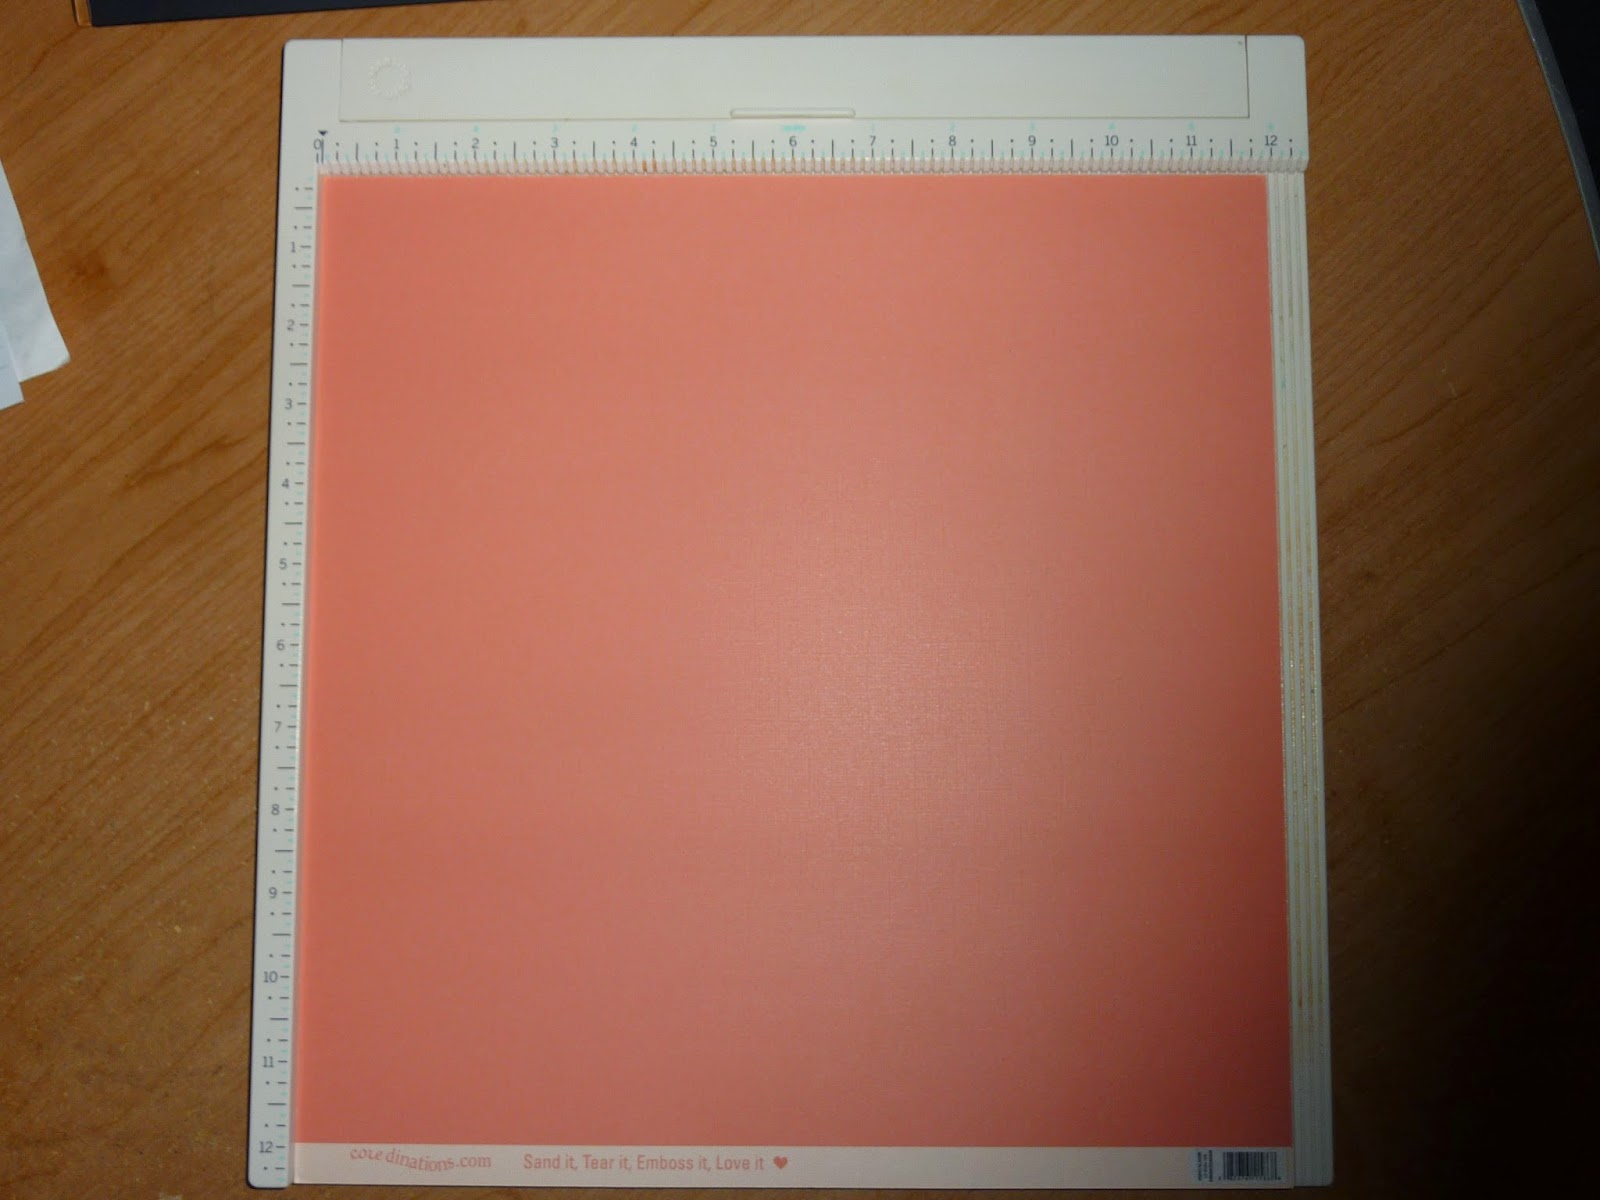
| Set your paper up on/with whichever scoring tool you're using. I'm using my MS score board. |
 |
| Score the paper initially at 1", 2", 5.5", 6.5", 10" and 11". A total of 6 score lines! |
 |
| You end up with the same setup as what I have pictured above. Once all lines are scored, using the guide above, cut out all the squares within the score lines marked with an "X". |
 |
| You end up with this cool shape. |
 |
| Fold all of the score lines. |
 |
| Now that we see where all the lines will fold, cut out the section of the folded area shown above. |
 |
| You're left with a tab like piece. |
 |
| And again for the other side... |
 |
 |
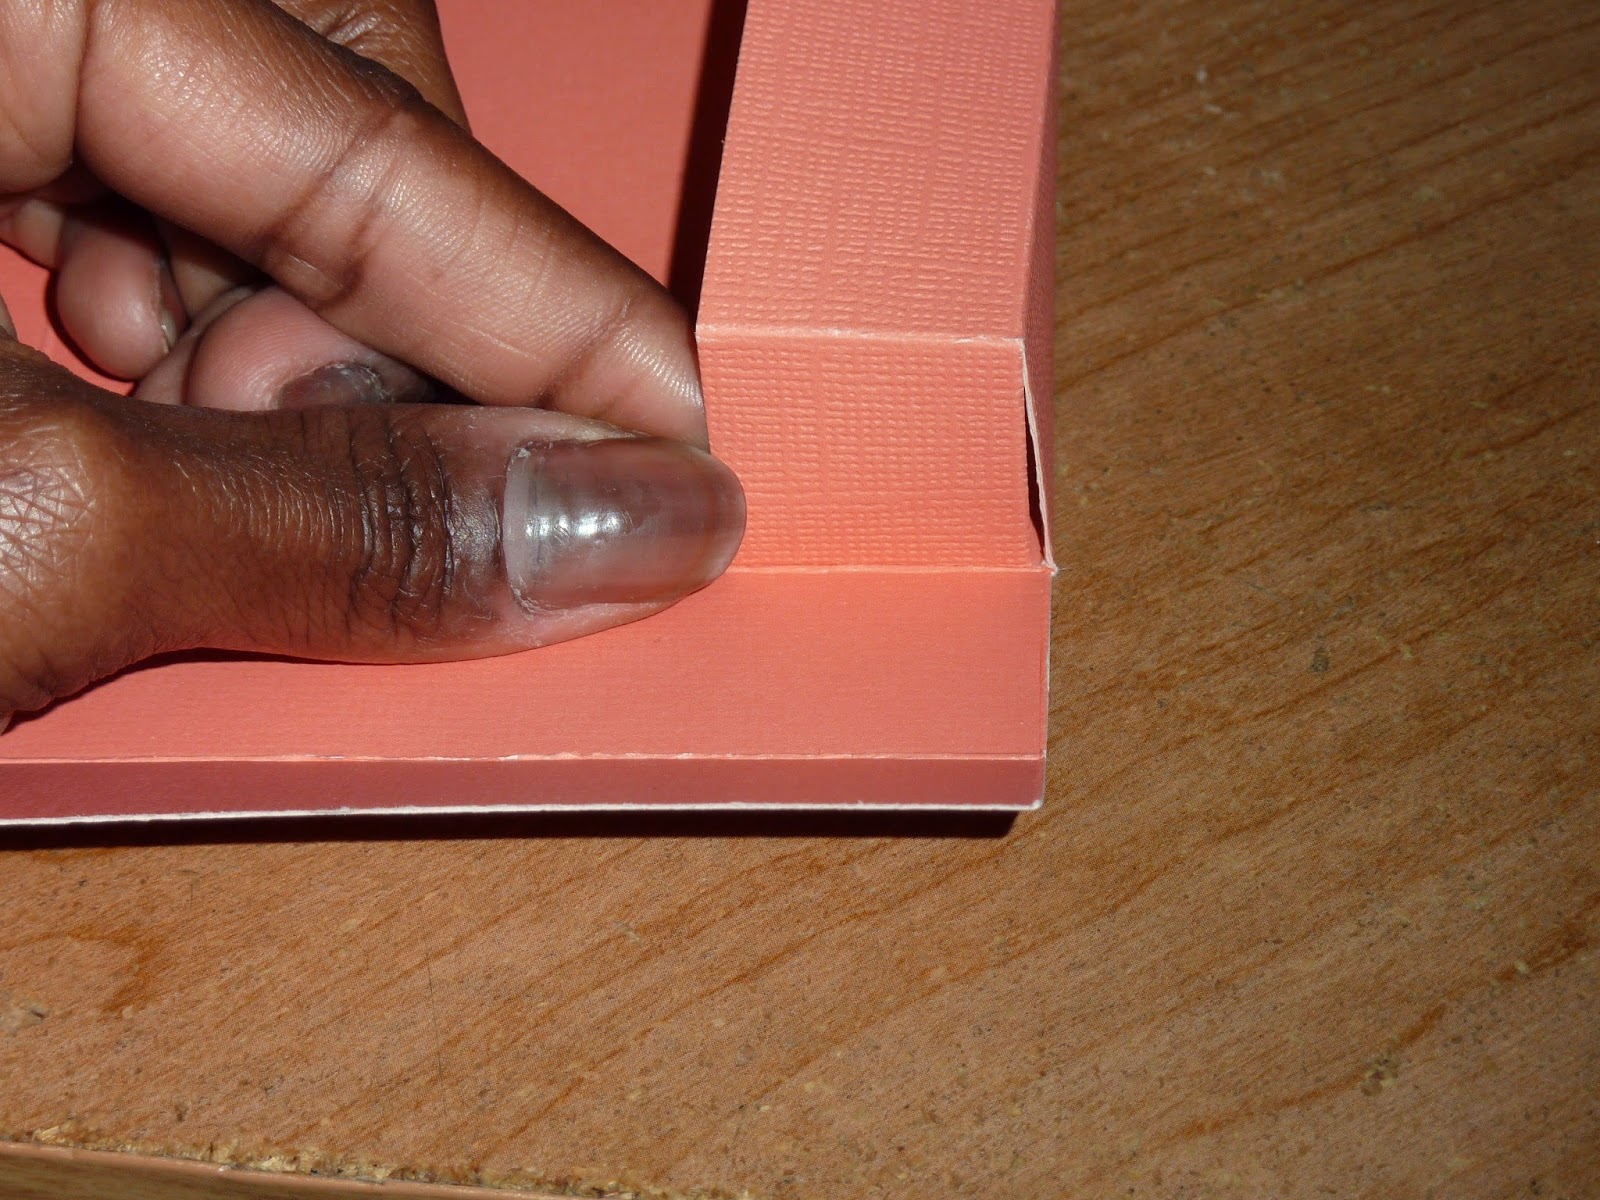
| You can now start adding the glue! We first add glue to the tab we just finished making. |
 |
| Then we bring the adjoining side up to meet the glued tab. |
 |
| Then we add glue to the top flap and glue it to the adjoining flap on top. |
 |
| Do the same for the other side/other tab. |
 |
| Box is starting to come together!!! Whee!! |
 |
| I used magnet closures on my box. You could of course use ribbon, seam binding, etc. |
 |
| I marked the center of the flap where my magnet would go. |
 |
| Then I added the other side of the magnet to the outer edge of the box where the flap would overlap. |
 |
| I used my Deco corner chomper to do the edges of the box flaps. |
 |
| Then I used my coredinations sanding block to rough up all the corners. |
 |
| I then used some Sweet Sentiments paper from the 12x12 paper pack from Graphic 45 as the base paper for my box. |
 |
| I also layered another sheet, this time from the 8x8 pad. Also from Sweet Sentiments. |
 |
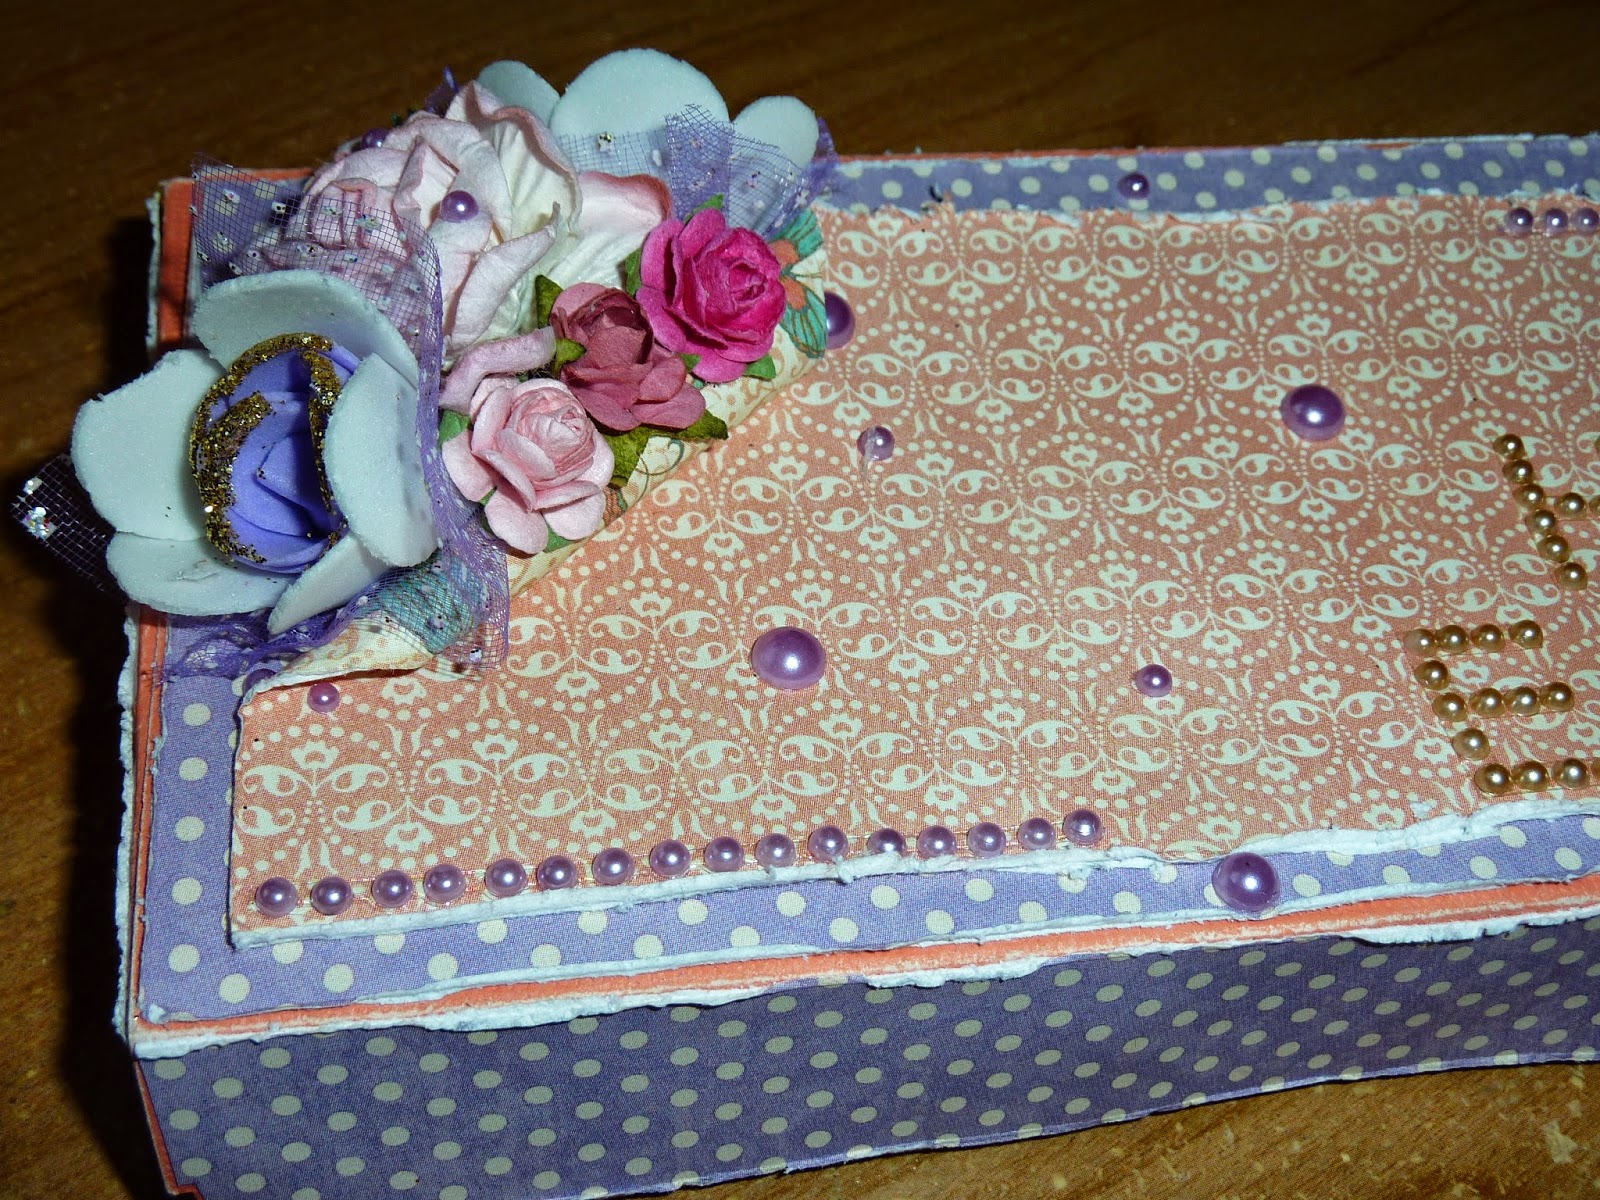
| Then I threw on some random flowers and bling from my stash, and voila! (Front View) |
 |
| (Back View) |
I hope that wasn't an overload of a tutorial. :)
Oh! And I forgot to mention, I distressed ALL the edges of ALL the papers I used, except the paper I used for the base of the box.
Thanks so much for dropping by!
If you have any questions, please post them in the comment section and I'll hopefully be able to answer them!
Also! Please post a link to your blog or image gallery should you choose to make this box as well! I love looking at your pretty altered boxes!! :D
Super warm hugs!
Krafty Kerry signing off!
http://kerryscoolcreations.blogspot.com
Sunday, October 27, 2013
Friends
Friends…everybody needs them or so the song says and I have to agree its true. I spent the weekend at the home of one friend and in the company of others. I could have stayed with family as I was in my home town, but this weekend was all about friends. When you live out of town and visit home everyone wants to see you; but you only have so much time. So this weekend I only saw my son cause he has the new Grand Guy and the rest of my time was spent with my crafting buddies.
Friday night we went to Ms. Vicky’s and I taught a bit of mixed media. We sprayed and applied gesso and modeling paste and matte medium and paint and on on mixed media goes. Our surface was a piece of mixed media paper and the completed panel is all well, pretty and good. But what do you do with it now?
You make a card to thank the home that received you, that feed you and chauffeured you around town.
I made a Center Step card. It is easy to do.
- Your card base measures 5.5” by 11.
- You cut a slit 1 inch in on the long side from 1’’ to 6.5” repeat on the other side.
- On both long sides score at 1”, 2”and 6.5” up to the slit (do not cross over).
- Beginning at the slit score at 5.5” in the center and end at the other slit.
- Mountain fold at the 1”score; Valley fold at the 2” score. Pinch a mountain fold in the center at the 5.5” score line and the 6.5 inch fold should fold itself. Burnish all your folds with a bone folder and your base is ready.
I cut up the mixed media panel to fit the card base both inside and out;
and also made 2 tags (Spellbinders labels ten) and a front pocket with a window cut in it for my sentiment. I added some stitching and my card only needed some personal words.
Its good to travel and its good to see Friends!
In His Hands,
QueenPam
Monday, March 4, 2013
Dance with Watermark Resist
- Stamp image with Watermark Resist Ink Pad on Gloss Paper.
- Dry ink with Heat-it Craft Tool for a few seconds only.
- Brayer over image with various colors of Adirondack Dye Ink.
- Repeat with additional layers working ink into the cardstock.
- Lightly wipe off excess ink from Gloss Paper with paper towel. This will create a batik-like effect.


