Showing posts with label Flowers. Show all posts

Sunday, July 6, 2014

What's In A Blog Name?

I took another project off my 'Crafty Things To Do List'.  I've been wanting to make a plaque with my blog name on it, but today my Design Team post is a Canvas.  I'm satisfied!  I thought I would play with a few of my Faber Castell products that were still in the package.  After watching a few videos, I took the plunge and this is what I created representing my blog name.

Recipe ingredients:
Faber Castell gelatos
Colorbox Chalk ink
Tsukineko chalk ink
Stazon ink
Studio 71 canvas paper
Prima Bloom Girl
Canvas Corp - canvas
Recollections stamps, metal and stickers
Webster's Pages fabric sticker and flowers
Prima and Recollection flowers
K & Company Sea Glass chipboards
Making Memories mesh
Martha Stewart butterfly punches
Provo Craft alphabet stamps
Stickles - variety
Copic and Bic Mark it markers
Kimberly watercolor pencils
Here are just a few products I pulled out to get this canvas started.  I decided to use my film strip stamp, inked it on acetate paper and added a clock stamp to it.  The prayer was cut in strips to capture it on the page filling it with lots of embellishments to create the tropical decor. 


This is how I made my banner using Studio 71 canvas sheet.  I poured on the gesso then added my gelatos and sprays.  After it dried, various stamps were added.  I cut some in strips and added it to the canvas.  Butterfly punches, a heart and the banner were cut with the paper.  Chalk inks were added to the ends to define the paper.


This is My Scrapbook Prayer that Tiare featured in  Scraps of Color E Magazine years ago that I wrote in 2008 after attending a Scrapbook Extravaganza.  It is still dear to my heART!  I love the Prima Bloom Stamp....A 'Natural' Beauty just like me.

Do you have a blog plaque or sign in your Craft room?  If not, I hope I have inspired you to create one.

Love,
Princess

Friday, April 18, 2014

Easter Themed Card Box (A tutorial)!

Hello there!

I hope this Good Friday finds you in good spirit and with many crafty things on your to-do list this weekend!

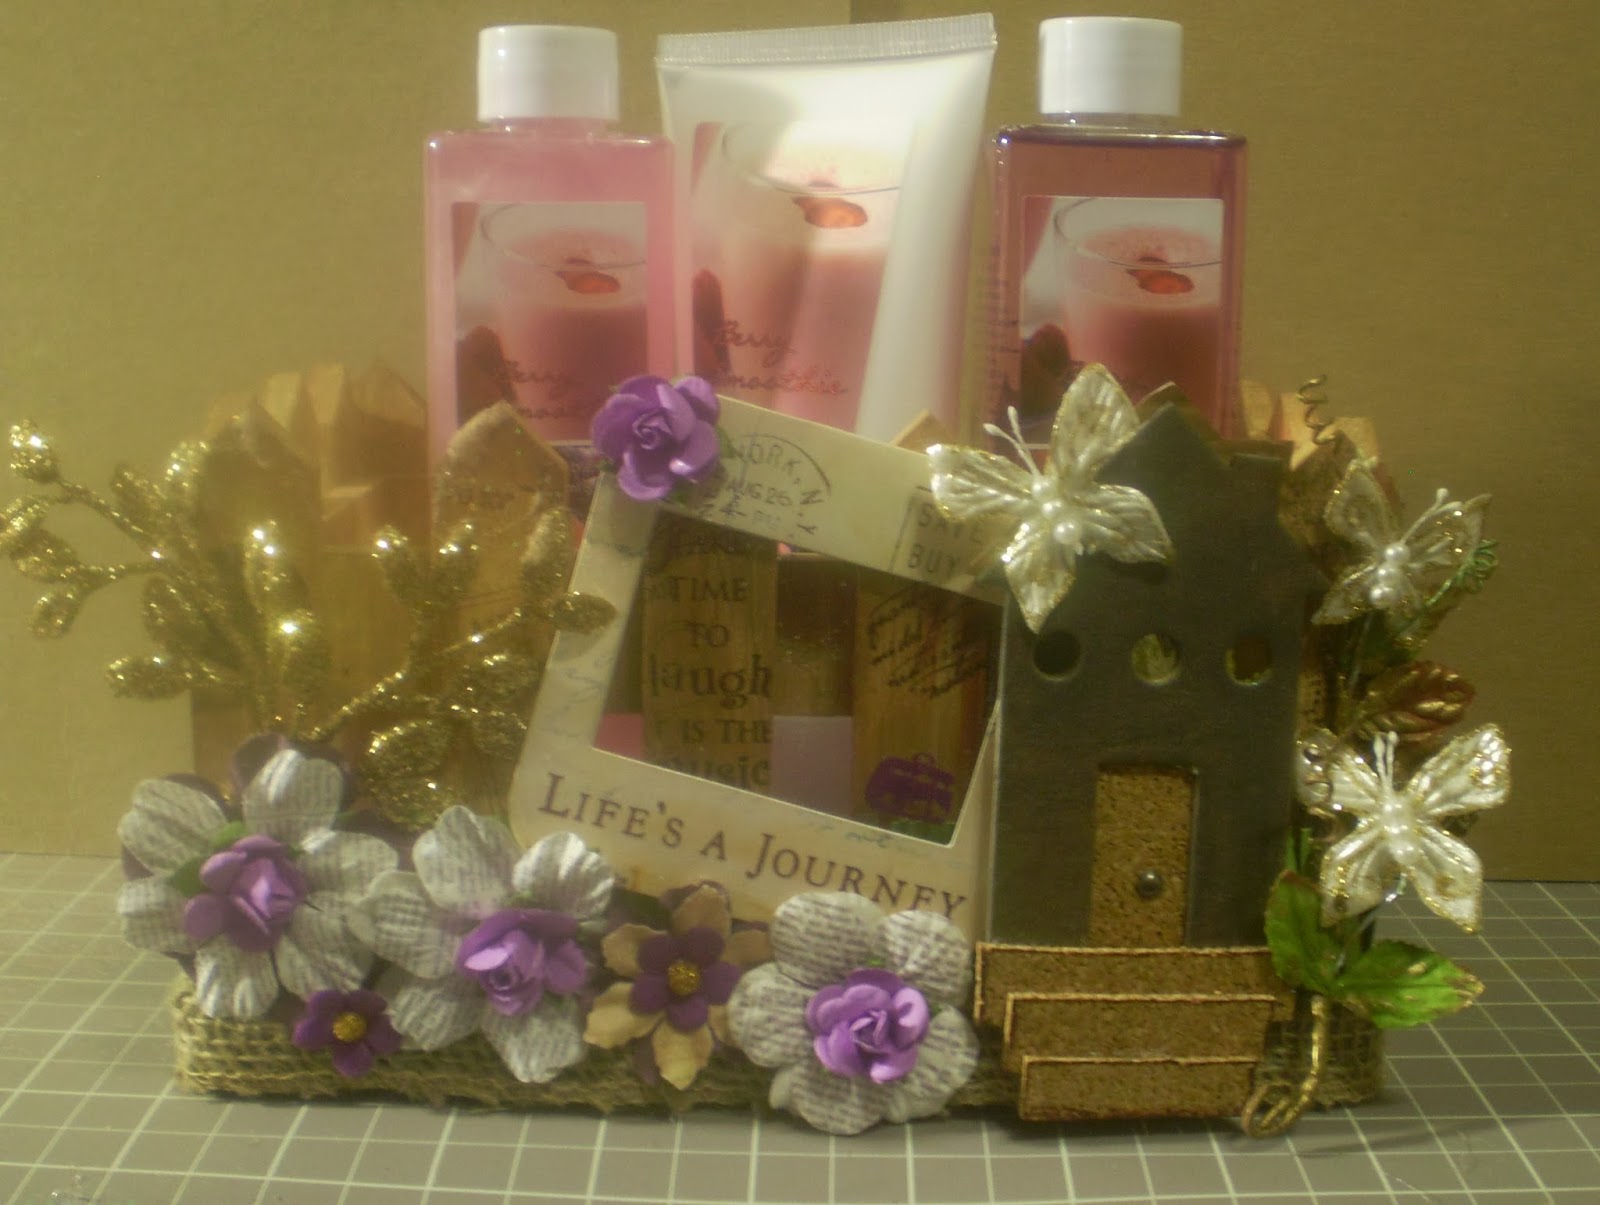
For your viewing pleasure today, I've created what I hope is an in-depth tutorial as to how I made the box below.


I  made this box with the idea that I would also make coordinating cards to go inside of it (below).


I wanted to make a box that would have the following specs:
- only uses 1, 12x12 sheet of cardstock
- has a closure of some kind (in my case, a magnet closure)

The final dimensions of this box are: 8" x 3.5" x 1".

In doing so, I drew out a mini sketch to get the ball rolling:


And then I started getting crafty!

Tools you'll need include:
- a score tool of some kind
- scissors
- glue
- pretty papers and embellishments to decorate the box with!


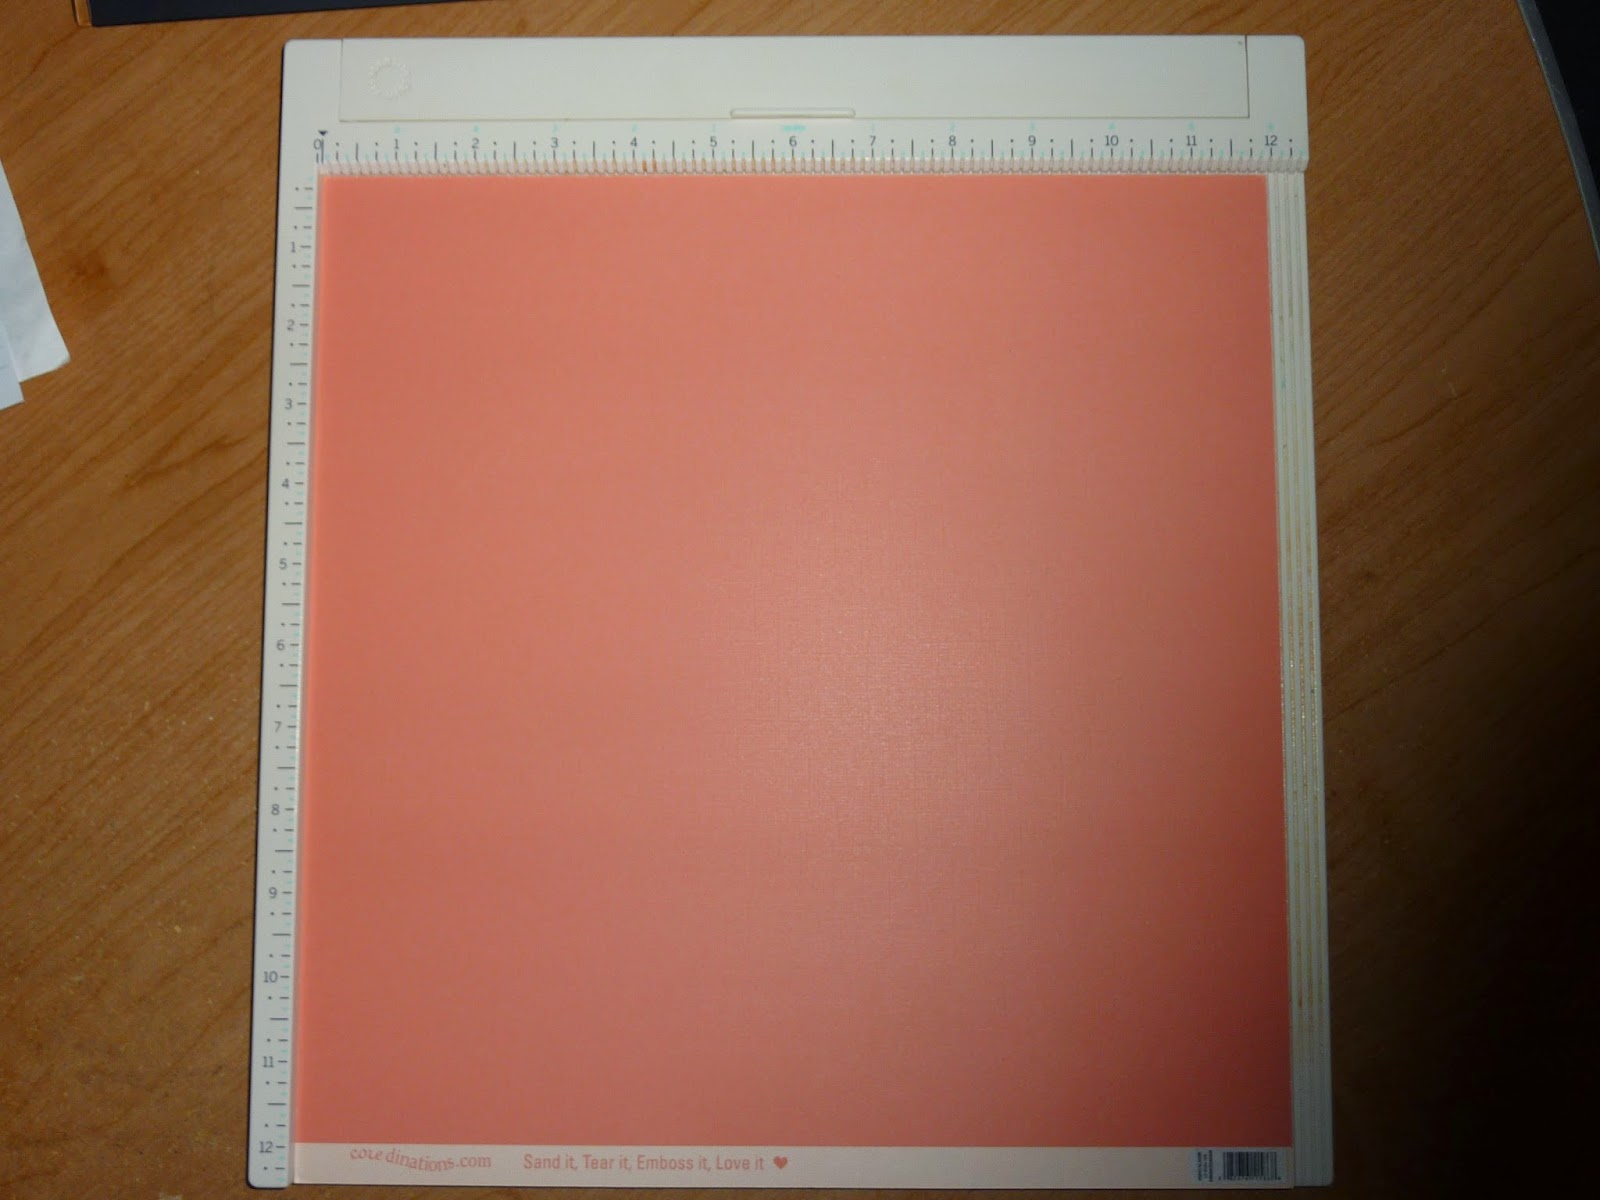
Set your paper up on/with whichever scoring tool you're using.
I'm using my MS score board.


Score the paper initially at 1", 2", 5.5", 6.5", 10" and 11".
A total of 6 score lines!

Rotate the paper counter clockwise by 90 degrees and score at 1" and 2".

Rotate the paper AGAIN, but this time by 180 degrees and score again at 1" and 2".

You now have 4 scored lines perpendicular to the first set of score lines.

You end up with the same setup as what I have pictured above.
Once all lines are scored, using the guide above, cut out all the squares within the score lines marked with an "X".

You end up with this cool shape.

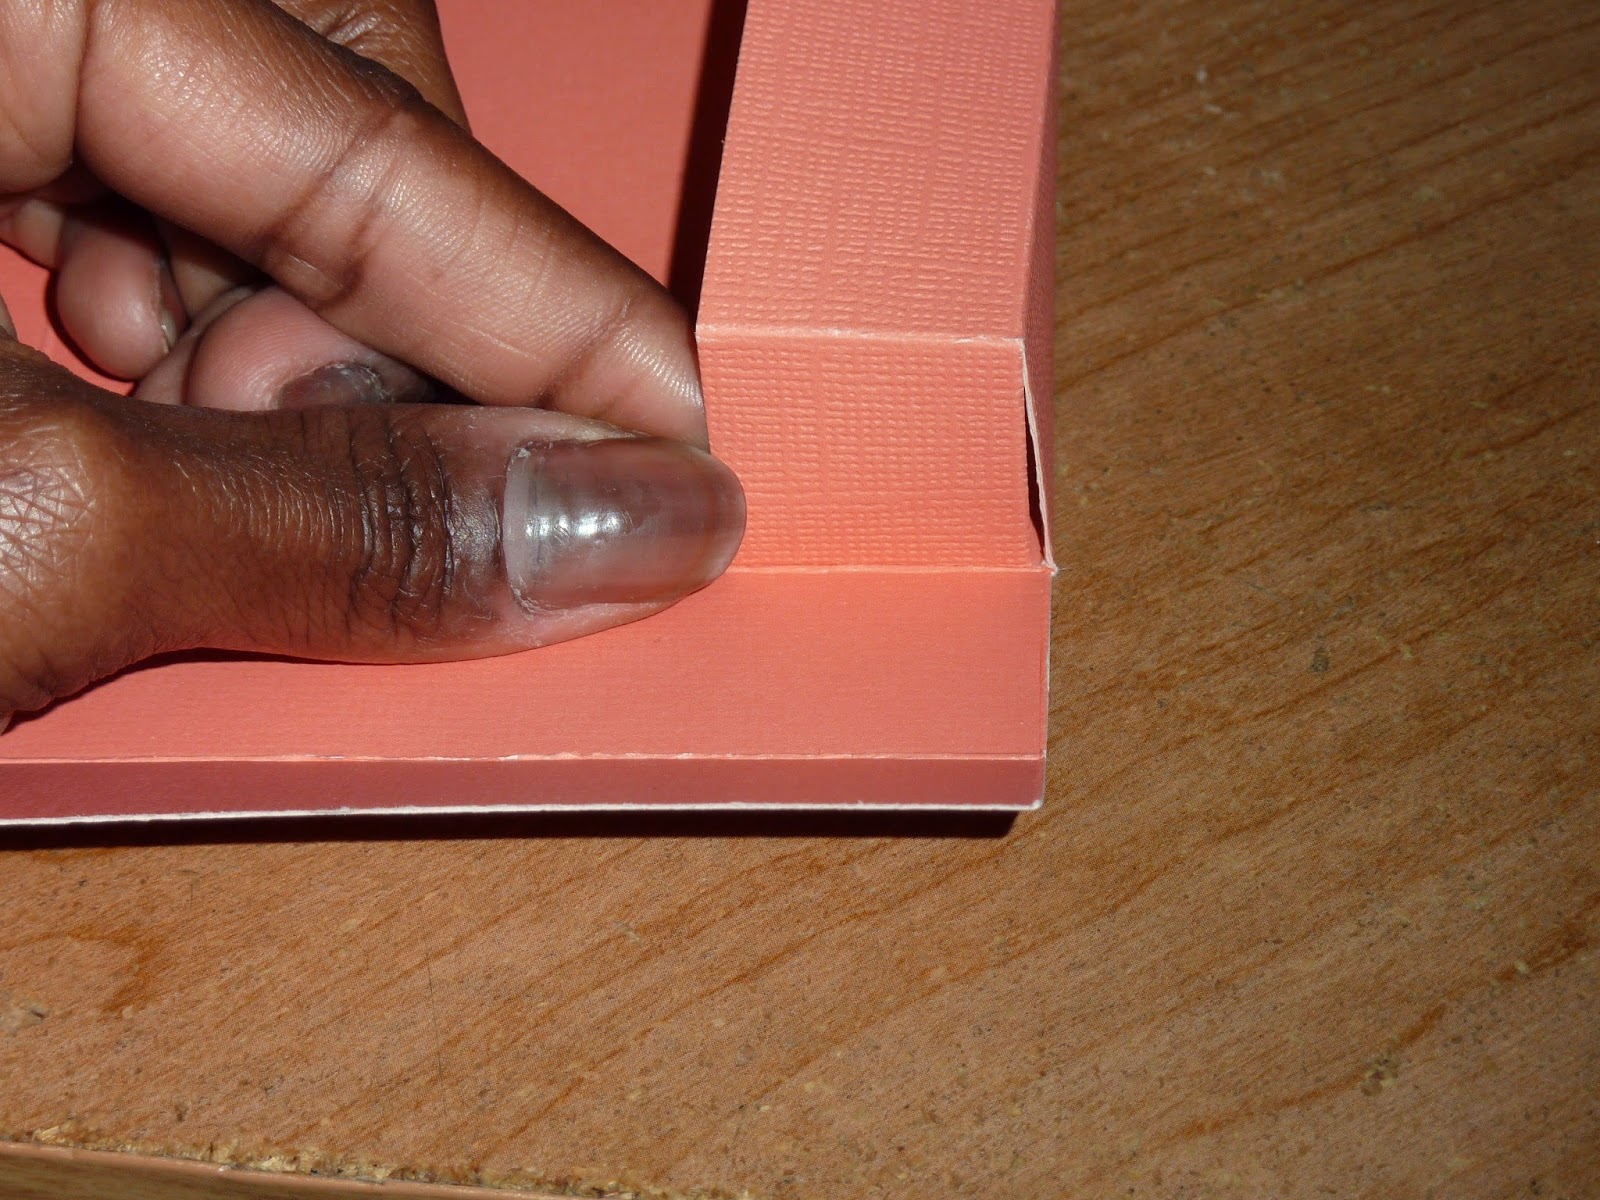
Fold all of the score lines.

Now that we see where all the lines will fold, cut out the section of the folded area shown above.

You're left with a tab like piece.

And again for the other side...


You can now start adding the glue! We first add glue to the tab we just finished making.

Then we bring the adjoining side up to meet the glued tab. 

Then we add glue to the top flap and glue it to the adjoining flap on top. 

Do the same for the other side/other tab.

Box is starting to come together!!! Whee!!

I used magnet closures on my box. You could of course use ribbon, seam binding, etc.

I marked the center of the flap where my magnet would go.


Then I added the other side of the magnet to the outer edge of the box where the flap would overlap.

This is the reason I added that extra 1" to the side with the closure.
If you will not be using a magnet, this could also be the side in which you hide any ends to seam binding or ribbon.
All you would need to do instead is pierce a tiny hole for it to come through. :)

I used my Deco corner chomper to do the edges of the box flaps.

Then I used my coredinations sanding block to rough up all the corners.

I then used some Sweet Sentiments paper from the 12x12 paper pack from Graphic 45 as the base paper for my box.

I also layered another sheet, this time from the 8x8 pad. Also from Sweet Sentiments.

Then I used some recollections bling stickers for my Easter greeting.
I also used a pencil to roll down the top left edge of the second layer of paper.
(It's easier to roll the paper if you mist it with water first!)

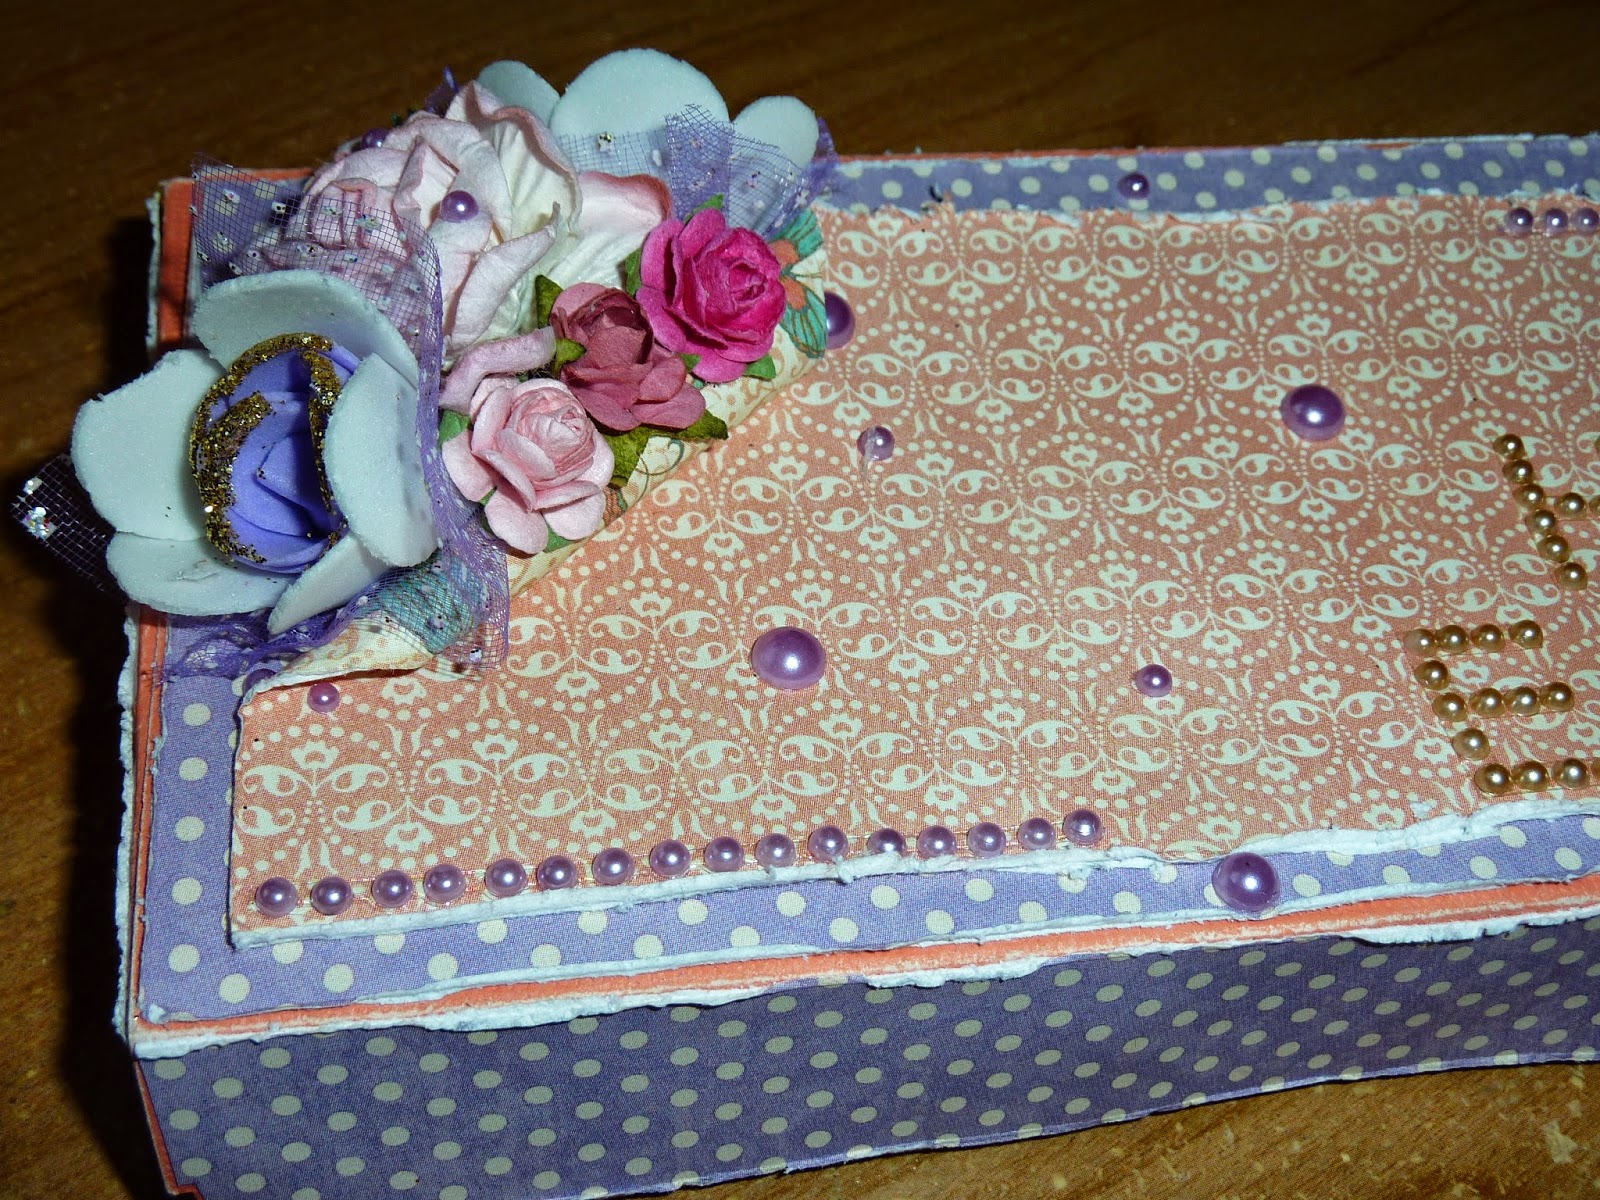
Then I threw on some random flowers and bling from my stash, and voila!
(Front View)

(Back View)


Phew!

I hope that wasn't an overload of a tutorial. :)

Oh! And I forgot to mention, I distressed ALL the edges of ALL the papers I used, except the paper I used for the base of the box.

Thanks so much for dropping by!
If you have any questions, please post them in the comment section and I'll hopefully be able to answer them!

Also! Please post a link to your blog or image gallery should you choose to make this box as well! I love looking at your pretty altered boxes!! :D

Super warm hugs!

Krafty Kerry signing off!
http://kerryscoolcreations.blogspot.com

Saturday, March 29, 2014

The Rule of 3 (or 5 or 7)


I’m not normally a “rule” follower when I scrapbook.  It can be so stifling to the creative process.  But one rule of design that just seems to work is the Rule of 3.  The idea that embellishments used in odd numbers – 3,5,7 – are more appealing to the eye.  

In the layout I’m showing in this post, this rule even helped me complete the layout.  Originally, I’d only placed the yellow and the pink gems.  But it just looked off to me.  So, remembering the rule, I grabbed a tag and added the teal gems.  So simple, but just the right touch.


These are photos from the Town Square in downtown Anchorage, AK.  We were so surprised to see this sea of beautiful, colorful flowers!  As I wait for Spring to make a permanent appearance, these lovelies make a great substitute.


Hello, Anchorage by Moanica Caston.  Cardstock: Bazzill Basics; Patterned Paper and white tag: Lily Bee;  Gems: Prima; Yellow Tag: Whisker Graphics; Flair: Ormolu; “Today” sticker: Jillibean Soup; Wood veneer camera: Studio Calico; Alphas: American Crafts Thickers.


Tomorrow the temperature is supposed to get up to 70° -- Spring may be here after all!

Moanica


Thursday, March 6, 2014

Altered Wooden Fence

I can't believe I didn't do it.....I didn't take a photo of the white wooden fence before I start working on it.  It was a Christmas gift I received of bath products in a white wooden fence.    As you know I LOVE to alter things.  This is the end result!
It was painted with Craftsmart Golden Brown and Khaki acrylic paint along with Folkart Honeycomb acrylic paint.  After I let it dry, it was stamped with various phrases all around the fence.
Using Martha Stewart fringe scissors, I cut the green paper for grass and placed it all around the fence.  Burlap was folded and wrapped around the grass. If you noticed I stamped the fence and grass with various stamps with words.

Using my scraps I added Recollection flowers, vine and Making Memories leaves.  The transparency window  was purchased at a scrapbooking convention years ago.
Scenic Route chipboard house was a RAK or prize that came in handy. I painted it with a mixture of Adirondack Gold and Eggplant acrylic paint.  Cork was used for my door and steps.  


Hope you have enjoyed my Altered wooden fence.  Now you look around your scrap room or house and see what you can give a different look.  Thanks for stopping by.......Princess!

Wednesday, August 21, 2013

Embellish All You CAN!

I like to save aluminum cans not just for recycling but for upcycling as well.

I die-cut them to make flowers and other embellishments to finish off my projects.  I especially like the ones with fancy designs.  Here are a few examples:

So don't throw away those cans but save a few and use them to add texture and interest to your craft projects.


LinkWithin

Related Posts Plugin for WordPress, Blogger...