Showing posts with label altered art. Show all posts

Tuesday, July 7, 2015

Denim, Lace and Pearls

Here’s my altered project using some old Levi jeans that I don’t wear anymore.  I was told to cut them into shorts and wear them around the house.  My creative side lead to my favorite project…a mini album.  The theme is Denim, Lace and Pearls.  I must admit it was fun designing, but putting holes through the denim and chip board with my crop-a-dile was fierce. Thank goodness I still had my eyelet setter.  That’s why it’s hard to let go of old tools. 

This is how I got started.  I LOVE Sookwang double stick adhesive.  It was included in a goody bag that I received when I attended a crop by Tiare last year.  My scrapping sistah Lakeisa saw me using the last strip and gave me hers.  That’s why I love crops.  We always share!
 This is how I covered the outside chipboard with the material.  The inside pages had denim on both sides.

Below are views of the album.  (See close up view of the cover) Love this scripture It is more Blessed to give than to receive.  Acts 20:35.  The blue/white lace is over the satin lace and on the wide lace that's attached to the denim. It's a lot of layering, but I love the look!
All of the items used in this mini are from my stash!  
 The left side is an interactive page for lots of photos attached together with the altered paperclip,  The right has a pocket from the binding of the jeans used to store tags, photos, journal tags, etc. I took a strand of pearls and added to the satin lace and tied a knot of lace to put behind the denim flower.
 Both left and right are interactive pages.  The denim material was used to make flowers from Tim Holtz tattered florals die cut.
I found this mini file envelope by 7 Gypsies in my stash and put pearls and a flower bud on it.

 This view shows the right side above opened.  Kind of like a gate fold page to store photos.
 Back cover using the pocket from the jeans and another flower designed with Tim Holtz die cut.
Can you imagine the possibilities of using denim on your projects?  I'm going to look around and see what else I can alter or use with the left over denim.  In the meantime, if you have something you would like to challenge me to use it with let me know.  I LOVE a challenge!  Thanks for your kind comments and love you show on my projects.  Hope you are inspired!!!

Papercrafting Princess


Friday, May 8, 2015

Happy Mother's Day

My mother looks forward to my crafty gifts on Mother’s Day.  This year I altered a chalkboard for her kitchen.  Mama Minnie is old school and believes in cooking a Soul Food Sunday dinner at her home regardless of Mother’s Day or any special holiday.  I picked up this chalkboard from Michael’s and added décor to compliment her kitchen. My mother is a decorator so I had to make it pretty and add some lace at the top.


Here’s a close up of the bottom. The items are all from my stash.  Chef Phoebe digital image by Robert Jackson was added. She is whipping up the batter for some hot water cornbread!  Although my mother does not wear that attire, I thought she was too adorable and added the perfect sentiment from Basic Grey.


Here’s a close up of the top.  Finally used the Jolee silverware and tied it to some twine to hang.  Then I found the stickers to add another perfect sentiment for the top.  She can add her menu to the front or back.  

Well it’s time to wrap it in a box for delivery.  Did you make your mother something crafty?

Friday, November 7, 2014

Butterfly Kisses

This is the season of ‘Thanks’ and ‘Giving’.  I picked up this large paper mache mailbox from Hobby Lobby and altered it with purple butterflies.  I was inspired by my soror Vanecia Kimbrow, who shared her amazing story about Living Life with Lupus.  This mailbox is a ‘Thanks’ for breaking the silence; I was enlightened by her testimony.  She has vowed to Keep It Moving so I hope she will treasure the mailbox and fill it with Happy Mail.  
After I applied Gesso over the box, I used acrylic paint to make it look rustic.  It was partially covered with Die Cut with  A View Floral Foliage Stack.  The lace was originally white so I applied Recollections mist to make it purple.  It was embellished with purple feathers, flowers, bling and butterflies.


Will you be making gifts or buying them during this ‘Thanks’ and ‘Giving’ season?

Thanks for stopping by

Princess

Monday, June 9, 2014

Vacation Bible School

Next week is Vacation Bible School at my church and we were asked to bring prizes for the children to ‘Go Fish’.   Remember the song, “I will make you fishers of men if you follow me”?  When they bring a new guest to join them Tuesday through Friday they ‘Go Fish’ and select a prize from the Treasure Chest.  First I went out and purchased a few activity books and pencils and a couple of games.  I wasn’t satisfied until I went in my room, looked around and there was my inspiration….6x6 Hanging signs!!!  They can place them on their door or in their room.  Five were made for my Design Team post.  I will be posting five each day this week on my blog!  They each have a scripture and part of a hymn we use on Sunday.   Our theme is 'The Amazing Road Trip.'


Are you and/or your children attending VBS or a summer program?  This would be an excellent idea.  Everything came from my scraps of paper and embellishments that I’ve set aside and refuse to throw away.   I wish I could have given them the supplies and see how creative they could be to design their own Hanging sign.  Hope I’ve inspired you to create a few and if you have created them before….Do it again!  Oh the possibilities.  I can't wait to paint!! 

Tuesday, May 6, 2014

Craft "To Do" List

What's on your Craft "To Do" List that you've been wanting to check off?  Oh just do it!  That's what I did when attempting to alter this wooden picture frame on National Scrapbooking Day.  I had a long list of items "To Do", but I'm really excited about this altered frame for my mother.   It's personal and ready for her favorite photo.  
These flowers were made by me using the EK Success flower punches.  When she saw my receipt one day from a stash of flowers I purchased, she challenged me to make my own.

The metal embellishments are over 10 years old and in my stash ready to use.  No more hoarding in 2014. Can you see the burlap in the background?  The pearls on the right side of the bird came from her stash.
The 1st piece of metal came from Mom, The baby feet represents her grandson, the crown represents my name, the cross represents her 'Faith'.  That's her word!  The heart represents the love she gives to all.  The swirly thing came from her stash from Christmas as well as the sheet of round circles underneath the baby feet.
The scripture is a canvas chipboard piece I picked up at Joann's recently and the four numbers represents home.

I can't wait to see how she analyzes it.  She is great with details and I'm thankful for her gift of creativity that she passed down to me.  Thanks for stopping by.  Now tell me what's on your Craft "To Do" List that you are waiting to check off?  Just Do It!   Happy Mother's Day ladies


Love Princess

Friday, April 18, 2014

Easter Themed Card Box (A tutorial)!

Hello there!

I hope this Good Friday finds you in good spirit and with many crafty things on your to-do list this weekend!

For your viewing pleasure today, I've created what I hope is an in-depth tutorial as to how I made the box below.


I  made this box with the idea that I would also make coordinating cards to go inside of it (below).


I wanted to make a box that would have the following specs:
- only uses 1, 12x12 sheet of cardstock
- has a closure of some kind (in my case, a magnet closure)

The final dimensions of this box are: 8" x 3.5" x 1".

In doing so, I drew out a mini sketch to get the ball rolling:


And then I started getting crafty!

Tools you'll need include:
- a score tool of some kind
- scissors
- glue
- pretty papers and embellishments to decorate the box with!


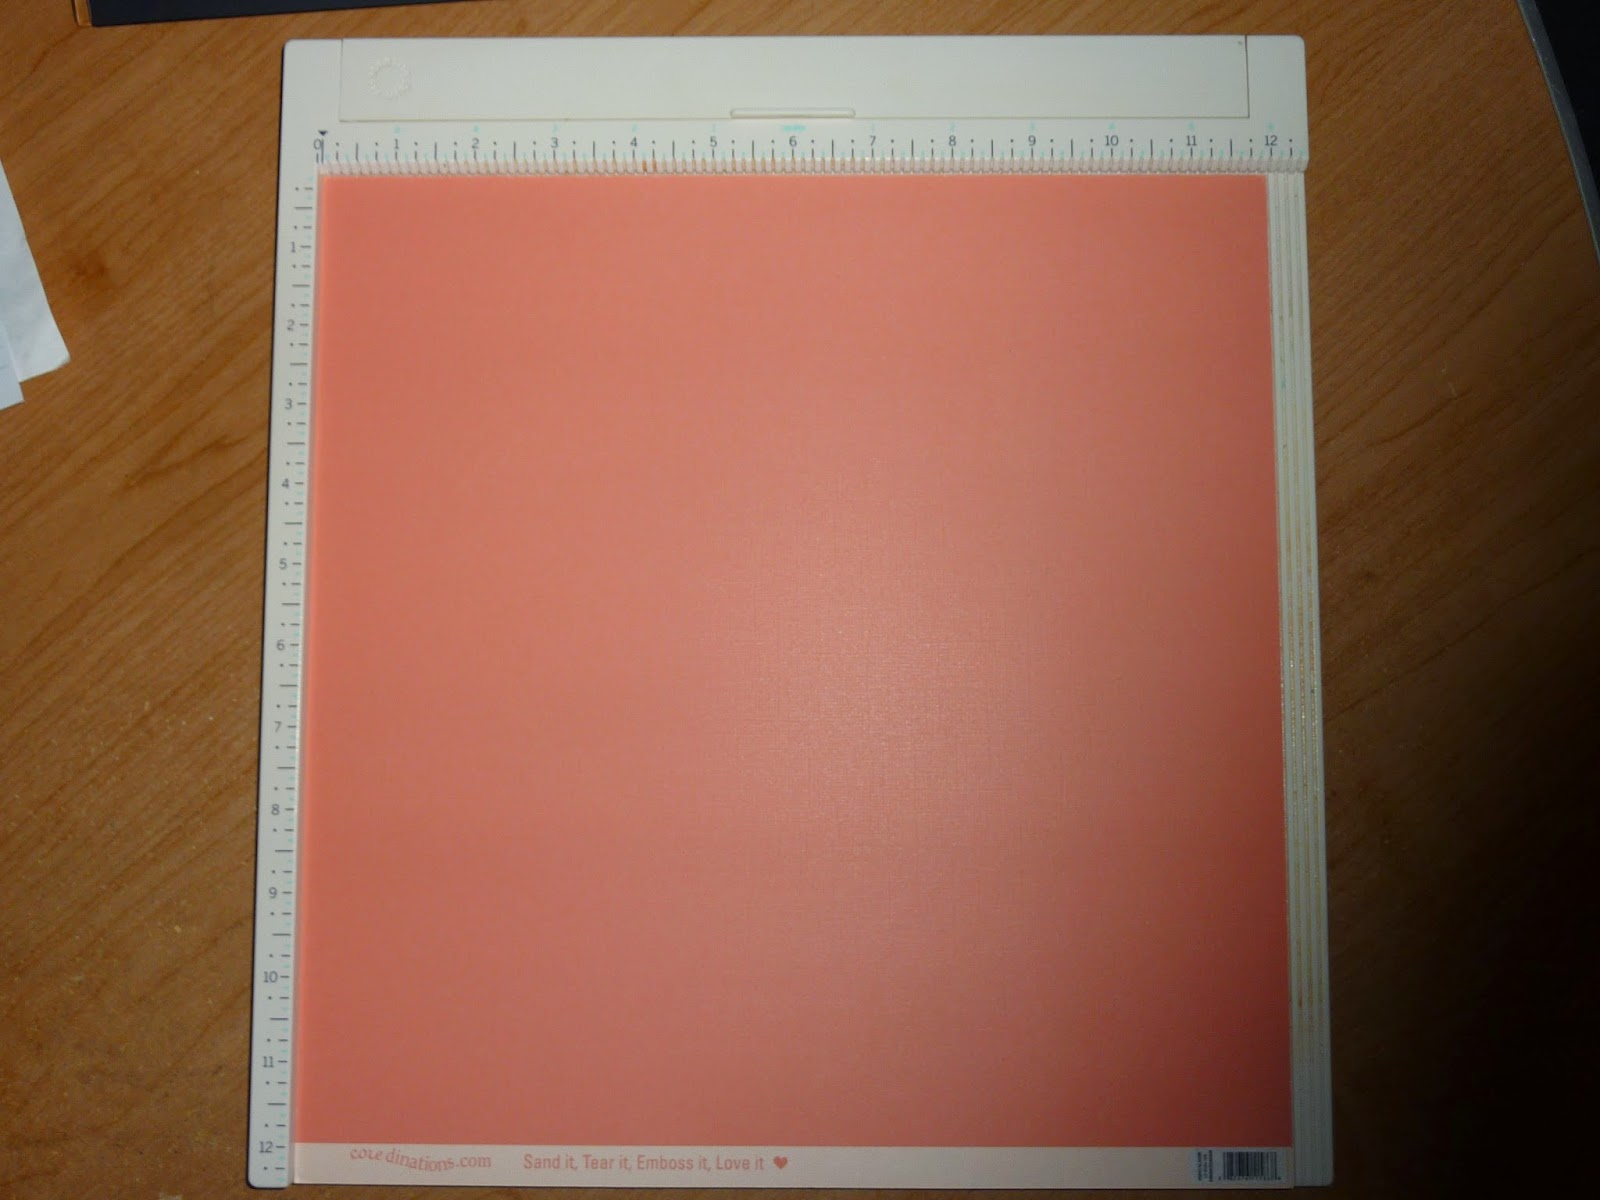
Set your paper up on/with whichever scoring tool you're using.
I'm using my MS score board.


Score the paper initially at 1", 2", 5.5", 6.5", 10" and 11".
A total of 6 score lines!

Rotate the paper counter clockwise by 90 degrees and score at 1" and 2".

Rotate the paper AGAIN, but this time by 180 degrees and score again at 1" and 2".

You now have 4 scored lines perpendicular to the first set of score lines.

You end up with the same setup as what I have pictured above.
Once all lines are scored, using the guide above, cut out all the squares within the score lines marked with an "X".

You end up with this cool shape.

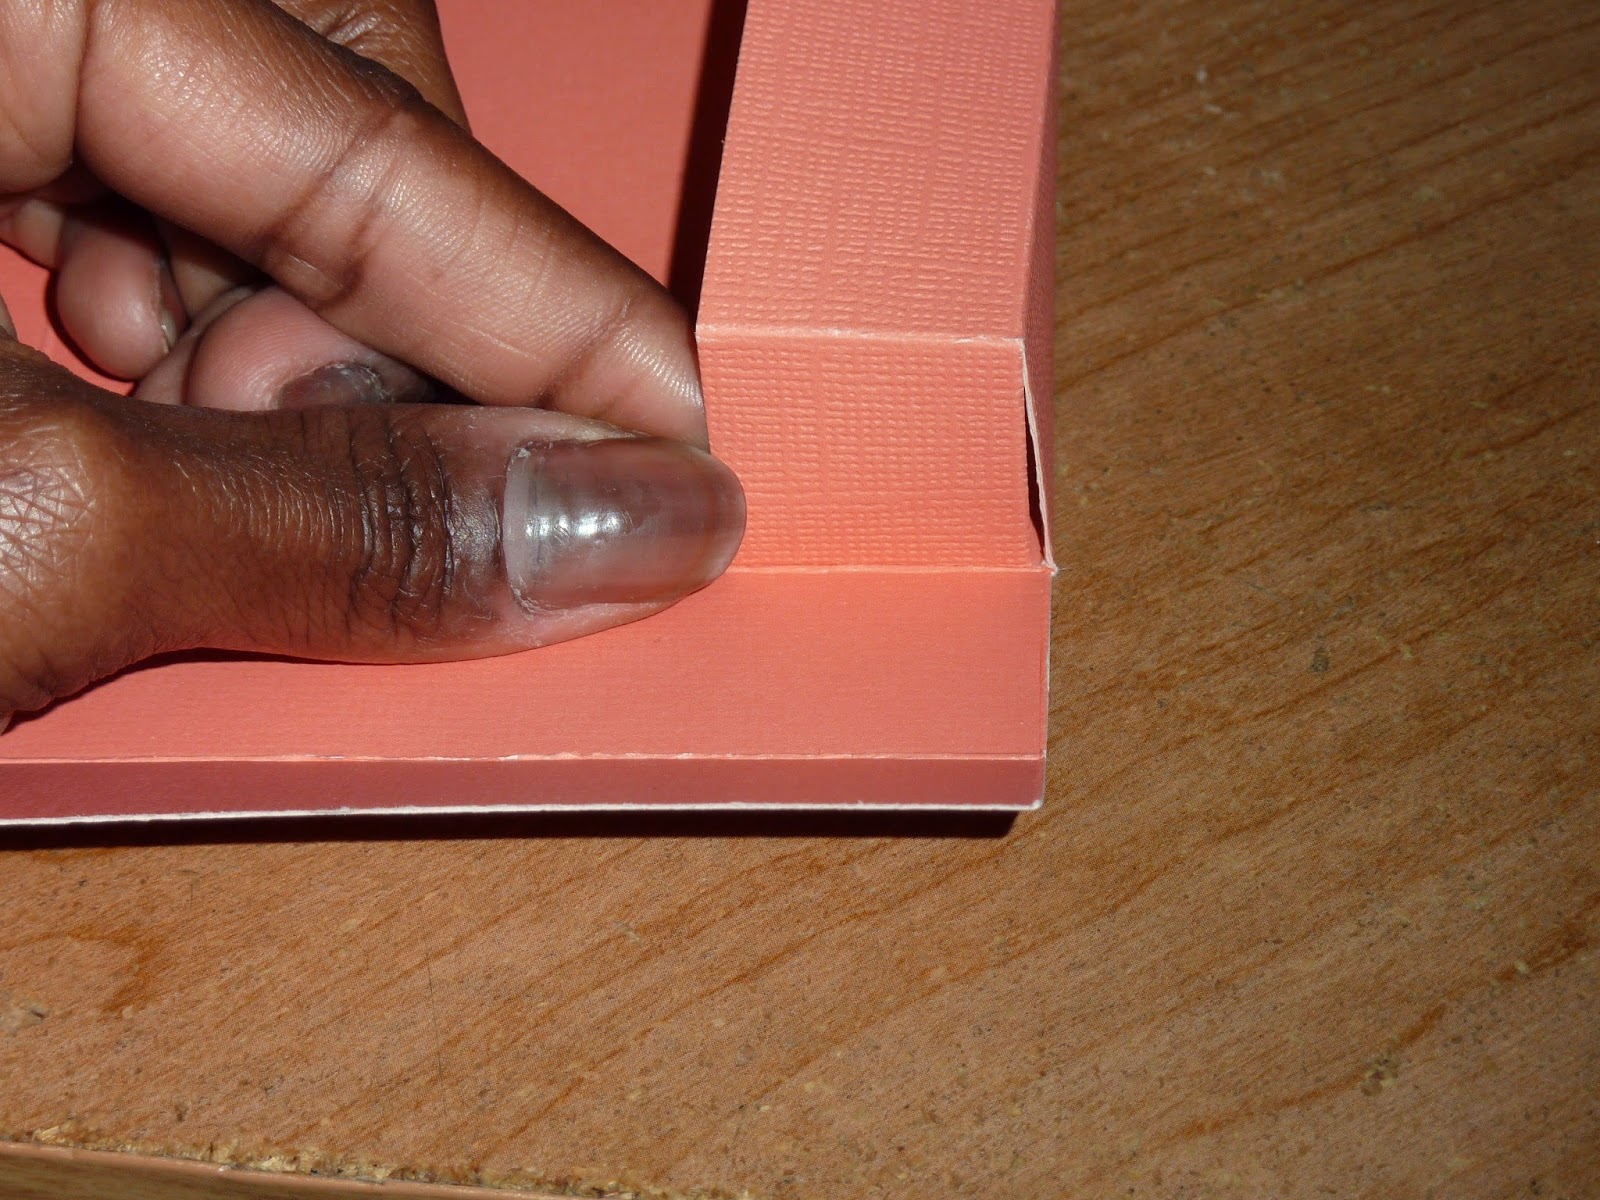
Fold all of the score lines.

Now that we see where all the lines will fold, cut out the section of the folded area shown above.

You're left with a tab like piece.

And again for the other side...


You can now start adding the glue! We first add glue to the tab we just finished making.

Then we bring the adjoining side up to meet the glued tab. 

Then we add glue to the top flap and glue it to the adjoining flap on top. 

Do the same for the other side/other tab.

Box is starting to come together!!! Whee!!

I used magnet closures on my box. You could of course use ribbon, seam binding, etc.

I marked the center of the flap where my magnet would go.


Then I added the other side of the magnet to the outer edge of the box where the flap would overlap.

This is the reason I added that extra 1" to the side with the closure.
If you will not be using a magnet, this could also be the side in which you hide any ends to seam binding or ribbon.
All you would need to do instead is pierce a tiny hole for it to come through. :)

I used my Deco corner chomper to do the edges of the box flaps.

Then I used my coredinations sanding block to rough up all the corners.

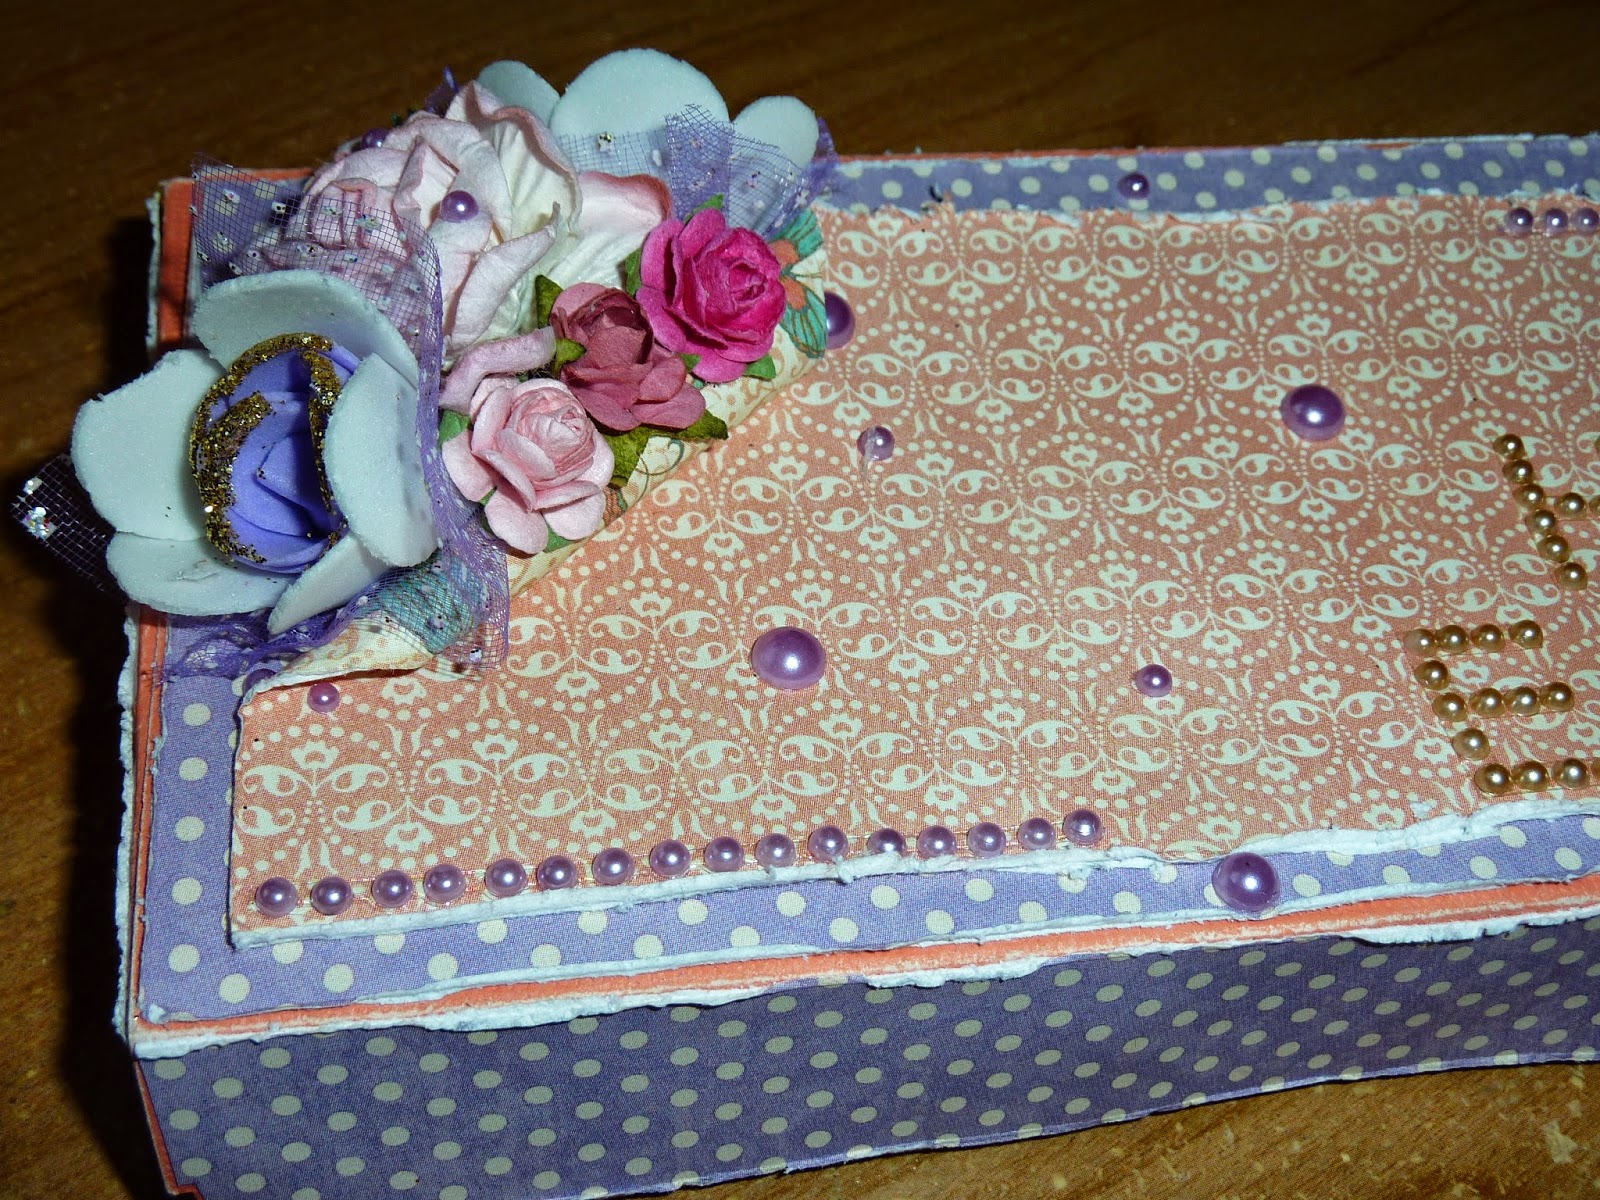
I then used some Sweet Sentiments paper from the 12x12 paper pack from Graphic 45 as the base paper for my box.

I also layered another sheet, this time from the 8x8 pad. Also from Sweet Sentiments.

Then I used some recollections bling stickers for my Easter greeting.
I also used a pencil to roll down the top left edge of the second layer of paper.
(It's easier to roll the paper if you mist it with water first!)

Then I threw on some random flowers and bling from my stash, and voila!
(Front View)

(Back View)


Phew!

I hope that wasn't an overload of a tutorial. :)

Oh! And I forgot to mention, I distressed ALL the edges of ALL the papers I used, except the paper I used for the base of the box.

Thanks so much for dropping by!
If you have any questions, please post them in the comment section and I'll hopefully be able to answer them!

Also! Please post a link to your blog or image gallery should you choose to make this box as well! I love looking at your pretty altered boxes!! :D

Super warm hugs!

Krafty Kerry signing off!
http://kerryscoolcreations.blogspot.com

LinkWithin

Related Posts Plugin for WordPress, Blogger...