Showing posts with label altered holiday project. Show all posts

Friday, December 6, 2013

Time to Trim the Tree

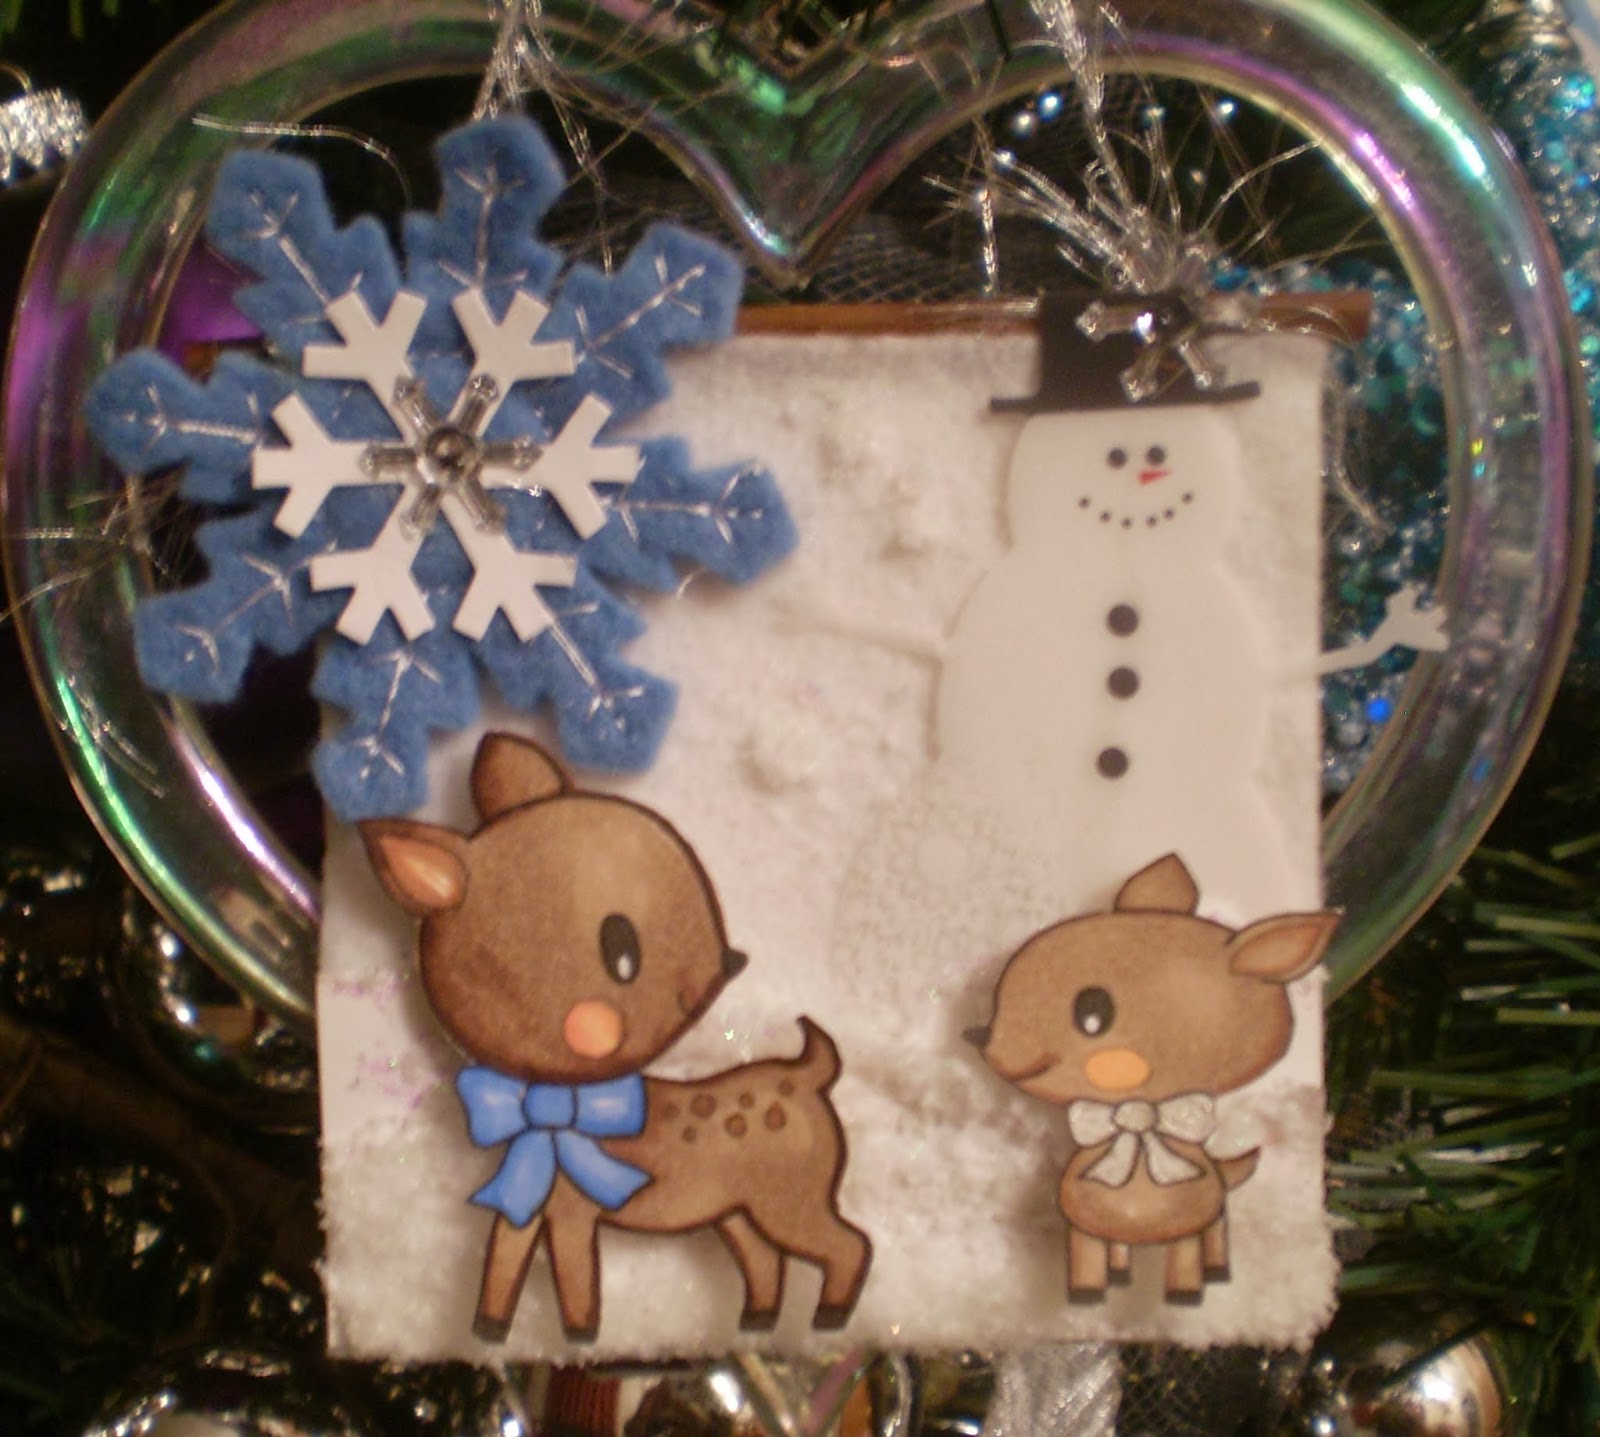
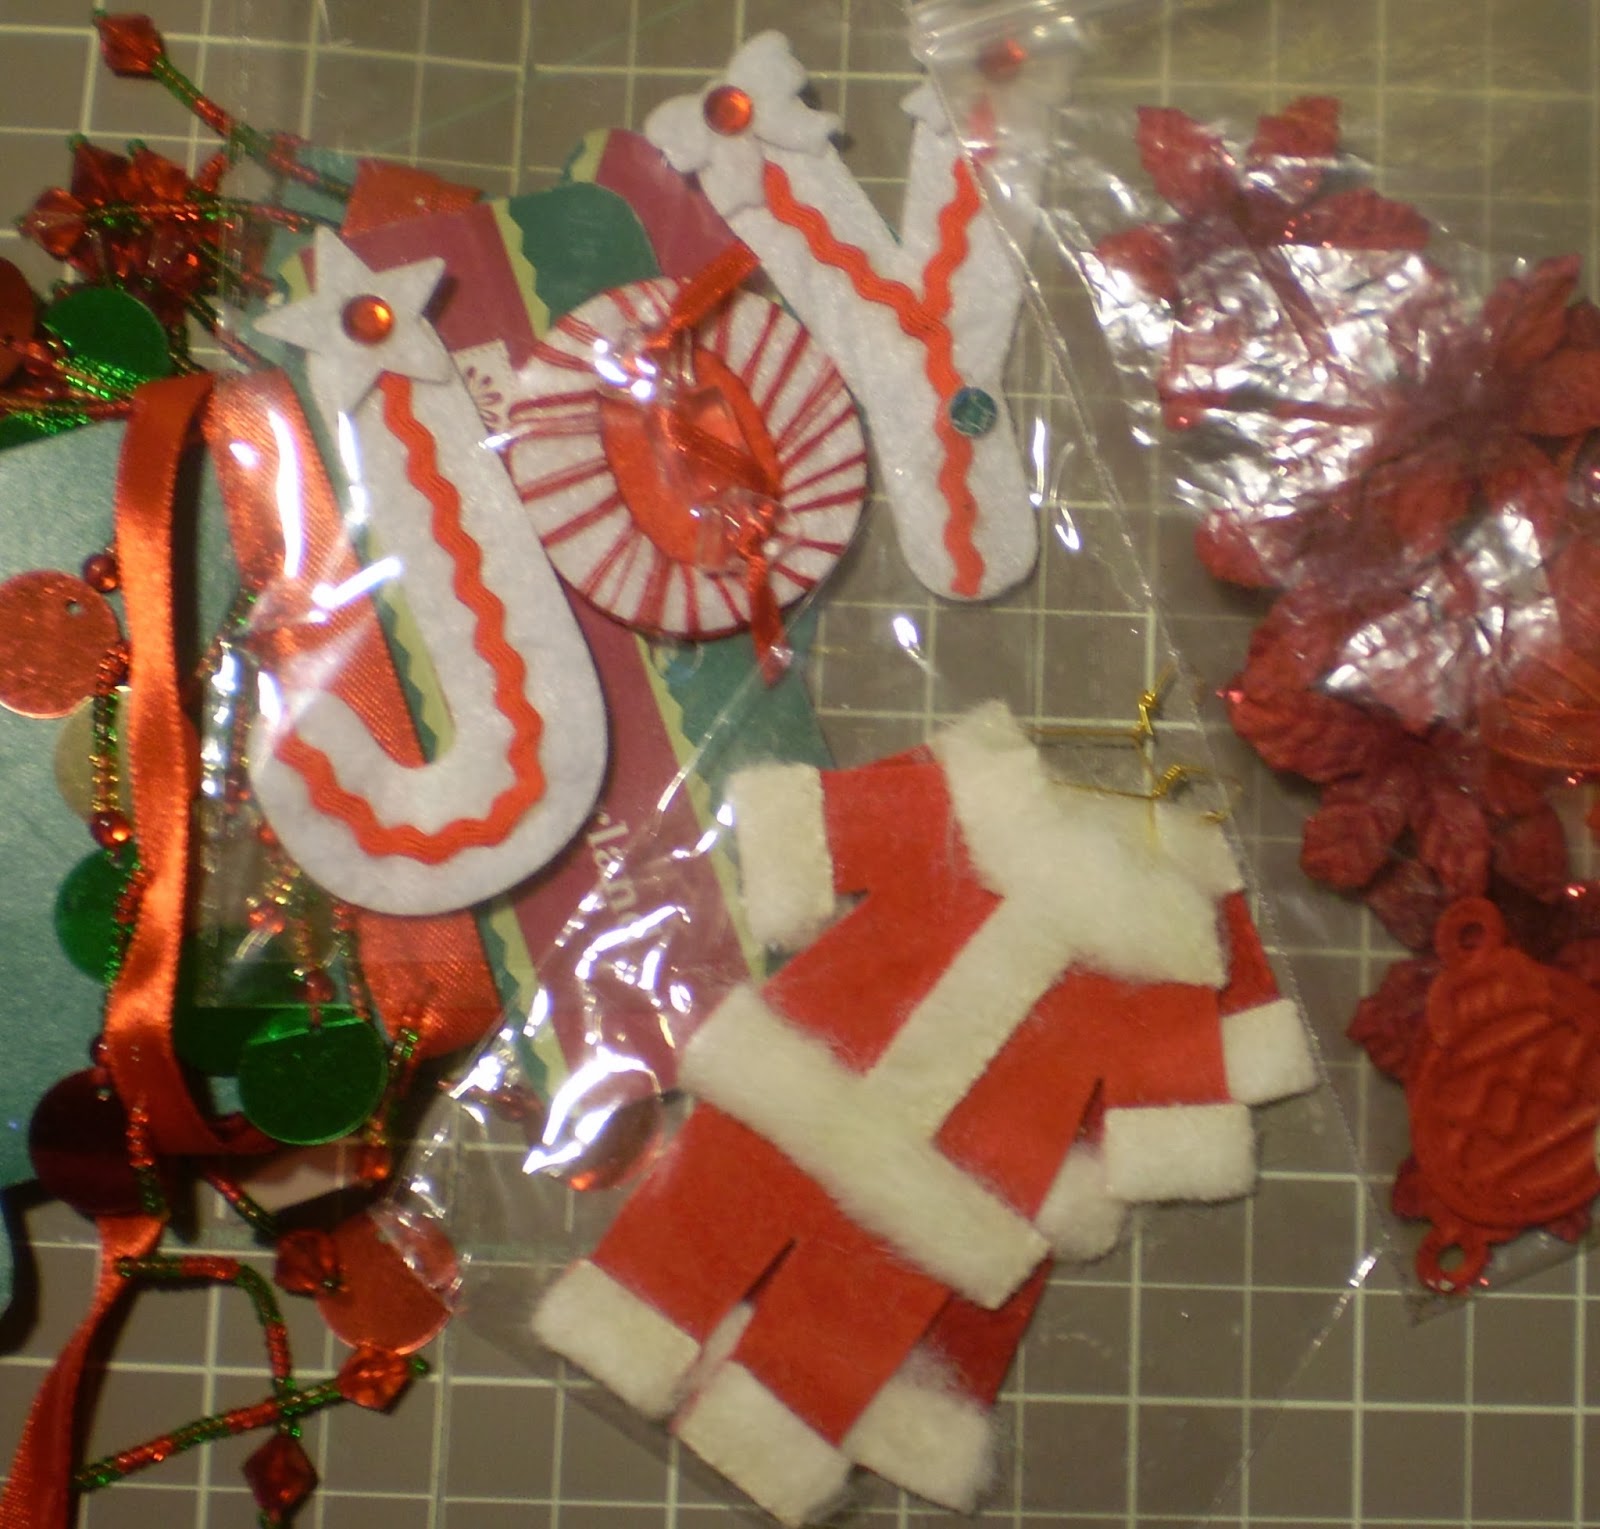
Embellishments make the prettiest ornaments.  I'm really on this 'Stop Hoarding' kick.  Making the use of my scrapbooking supplies is my goal.  I went to my Christmas stash and after organizing everything I wanted to see what project(s) I could make to use it up.  I've got to make room for next year right?  lol  My tree is up and I want to start a tradition of making homemade ornaments, especially for my niece and nephew.  I have two to share of which were made with coasters, sticks, fiber and embellishments. 

Recipe: 
Deasy Designs digital images
Bic Mark it markers
Stickles
Flower Soft Polar White Diamond Range
Little Yellow Bicycle die cut
Archivers die cut
 
 This is what I pulled from my stash.


I painted the coasters front and back.
The fiber was tied to both ends of the stick.  My X-Acto gripster was used to cut in the stick to better hold the fiber.  It was attached to the coaster that was fully embellished.  Of course this is the blue/white theme.  It's covered with white felt and I piled on the love.

 
I am crazy about this one!  I love the snow....well I love the snow on the ornament or looking at it, but not driving in it.  As long as it doesn't stay on the streets and ice up I'm okay. 

Close UP  Can you see the Flower Soft Diamond Range and Stickles and on the top for snow?
This is the second one using a Snow theme.  I've had these embellishments over 10 years.  Each year they go back in the Christmas storage tub, but this year I used them up and I love how they came out.

The 3D brad is by Recollection, which is about five years old.  I like the wood on white.
Close Up

 I'm working on my red and white collection now.  Hope I've inspired you to use up those cute embellies into ornaments that you can view year after year after year.    Yes my tree is up!  Merry Christmas and a Happy Holiday to all!


Saturday, December 8, 2012

Trimming the Tree


Do you have your tree up yet?  I had mine up the week after Thanksgiving all decorated, but I’ve always wanted to play around with ornament decorating.  So while putting back some Christmas décor, I found some craft glass ornaments my mother gave me a couple of  years ago and finally decided to put them to the test.
This is my tree
  
A few ingredients in my recipe

Rudolph ornament

Poinsetta ornament

Snowflake ornament

A touch of color ornament

Gift wrapped ornament

Reindeer ornament


12 ornaments for my tree!


Can you see the Snowflake, Rudolph and Reindeer ornaments on the tree?

The ornaments were filled with micro beads, tinsel and bells.   I embellished them with ribbon, 3D stickers and flowers all from my stash.  Got to love using the scraps huh?  I think I'll make a few next year for stocking stuffers! So tell me what you think! Be honest. Your comments are greatly appreciated.   

Thursday, November 8, 2012

The Wild Splendor

Hello FALL!
When I picked up this Die Cut With A View The Wild Splendor paper stack, I knew I had to make a mini album to capture all of the pretty paper.  Every sheet was used.  I LOVE the Fall Season and this year I'm going to put our Thanksgiving photos in it. The stack has papers, journaling blocks, words etc.  I love the pretty ribbons I got from my stash and added a few other embellies throughout. I hope you notice the chain on the clip.  It has metal leaves that I received from a RAK from my SOC sistah Scrap.n.Sista.
Every page on the right has a surprise.  This one has a fall out page. 
 It opens to a heart card die cut I got from Archivers and the right side opens to a flap.
On the right of this page it has an envelope on top and when you open that flap there is room for more photos.
 I put another heart die cut for more photos.  On the inside flaps I will journal.
 I must give another shout out to my SOC sister Roz Edwards. She sent me the Tim Holtz dress form.  Now on the right side it's an explosion page tied up in a fall ribbon.  See below...
 Yes an explosion box.  I like to put them in my mini's for extra pictures and journaling.  It was decorated with leftover scraps.  The paper is too pretty to throw away.  : )
 And for the back.  I used the chipboard piece which was actually a tag I created from SOC Friday Night Chat.  When I create I always plan to use it on something.  Of course I added a piece of cardstock and embossed it with a Cuttlebug die. The burlap was added to give it a little warmth. 
 So when you take your fall photos will you leave them on your camera or phone OR will you put them in a mini?  I just LOVE mini memories! 

Sunday, July 8, 2012

When I think of home....


We were asked to create something we have in our stash.  I'm proud to say I stepped up to the challenge. I did it! I finally created my Altered Painters Tray I purchased in 2010.  This altered tray is for my brother Patrick who lives in Nashville.  It's a little treasured keepsake to always view when he's 'thinking of home'. I used an ATC card I received in a swap from my scrappy friend Edie at SOC.  My goodness...the Cherish ribbon is over 10 years old.  I used some metal paper by Quikutz I purchased over 7 years ago and embossed it with my Cuttlebug.  Okay so I'm asking you ...Do you have something you haven't used in a while that you've purchased?  Go ahead create and pay it forward.

Friday, June 8, 2012

Somewhere Over the Rainbow

I am a lover of Quotes and I often share them in my classroom. I ran across this quote "The Soul would have no rainbow if the eyes would have no tears". Yes as you would imagine 'rainbow' stayed in my mind, which led me to this months creativity.   I purchased this little bird house for a steal at Michaels since it was missing a couple of knobs.

I gathered some paint to make the rainbow colors and added some mini beads and stickles.


Then off to my stash for flowers, buttons, brads, butterflies, pom poms and jewel stones....


...and this is how I created my rainbow House!


 The Paper Company Beadwork Starry Blue paper is the background

Angled view

Rear view

Left side view

Front view at the top

Quote
Are you inspired to create a rainbow?  Will it be a layout, card or altered item? 
Remember "The Soul would have no rainbow  if the eyes would have no tears".


Thanks for stopping by
Princess

Sunday, April 8, 2012

Twice the FUN!


These frames were altered for my sweet five year old cousins for Easter.   Since little girls love pink I thought I would use the DCWC Garden Party Stack.  They were tickled pink to receive them.  It’s amazing how I took a $1 frame from Michaels and made it a treasured keepsake....Now that's priceless.  All I need is their photo.  What have you altered lately?

Supplies:
DCWV Garden Party paper stack
Martha Stewart fringe scissors
Martha Stewart lace edge punch
Robert Jackson digital stamp
Copic & Bic Markits
Prima flowers  


Thursday, December 15, 2011

Quick and Easy Holiday Ornaments

With the holidays fast approaching most of us have already completed our holiday decorations but there's still time for a few quick and easy projects. I made these cute ornaments using patterned paper from one of our Dec/Jan sponsors Nikki Sivils. Below is a list of what you'll need to make these:

Patterned Paper, Flower Punch
Styrofoam balls - I used 3" white balls
Glitter Glaze or Stickles
Flat head straight pins
Ribbon, pearls or crystal bling to cover the pin heads
Optional - Glimmer Mist to cover the Styrofoam balls

Start by punching out flowers from the patterned paper; next attach them to the ball using the straight pins. Once the ball is completely covered used the crystals or pearls to cover the pin heads. Next add your ribbon and bow for hanging and you're done...it's that easy! This is a great project for kids and a great way to use some left over holiday patterned paper.

Wishing everyone a Merry Christmas and a Blessed New Year!

Tip #1 - Put the Glitter Glaze or Stickles on the patterned paper before punching out your flowers, that way you don't have to do them individually.

Tip #2 - Use a heat tool to set the Glimmer Mist if using on the Styrofoam balls.

LinkWithin

Related Posts Plugin for WordPress, Blogger...